Few things in the kitchen feel as magical as turning a handful of simple ingredients into smooth, golden salted caramel. This recipe creates a luscious caramel sauce that's silky, sweet, and perfectly balanced with a touch of salt. It's incredibly versatile, you can drizzle it over ice cream, stir it into coffee, layer it in cakes, or gift it in jars during the holidays.
If you've never made caramel before, don't worry. I'll walk you through each step with helpful tips to ensure success every time.

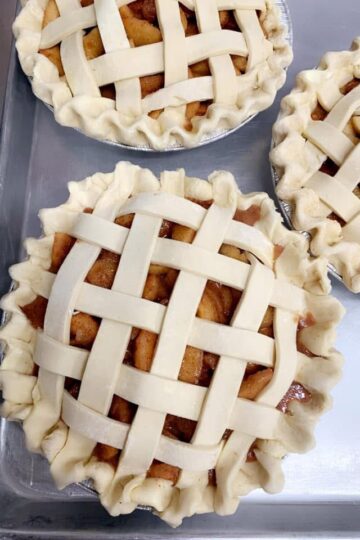
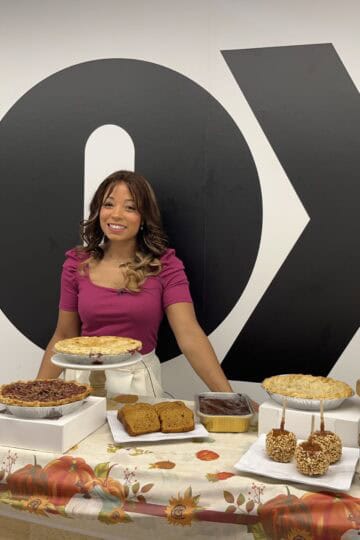
Salted caramel has become a year-round favorite, but it feels especially cozy in fall and winter. Think about it: apple pie à la mode drizzled with warm caramel, pumpkin cheesecakes topped with golden swirls, or holiday cookie platters with a jar of caramel dip in the center.
Unlike store-bought caramel sauces, this caramel uses simple everyday ingredients, and no artificial flavorings or coloring.
Jump to:
Ingredients
Before you start, measure everything out and prep in small bowls. Once the sugar begins cooking, things move quickly.
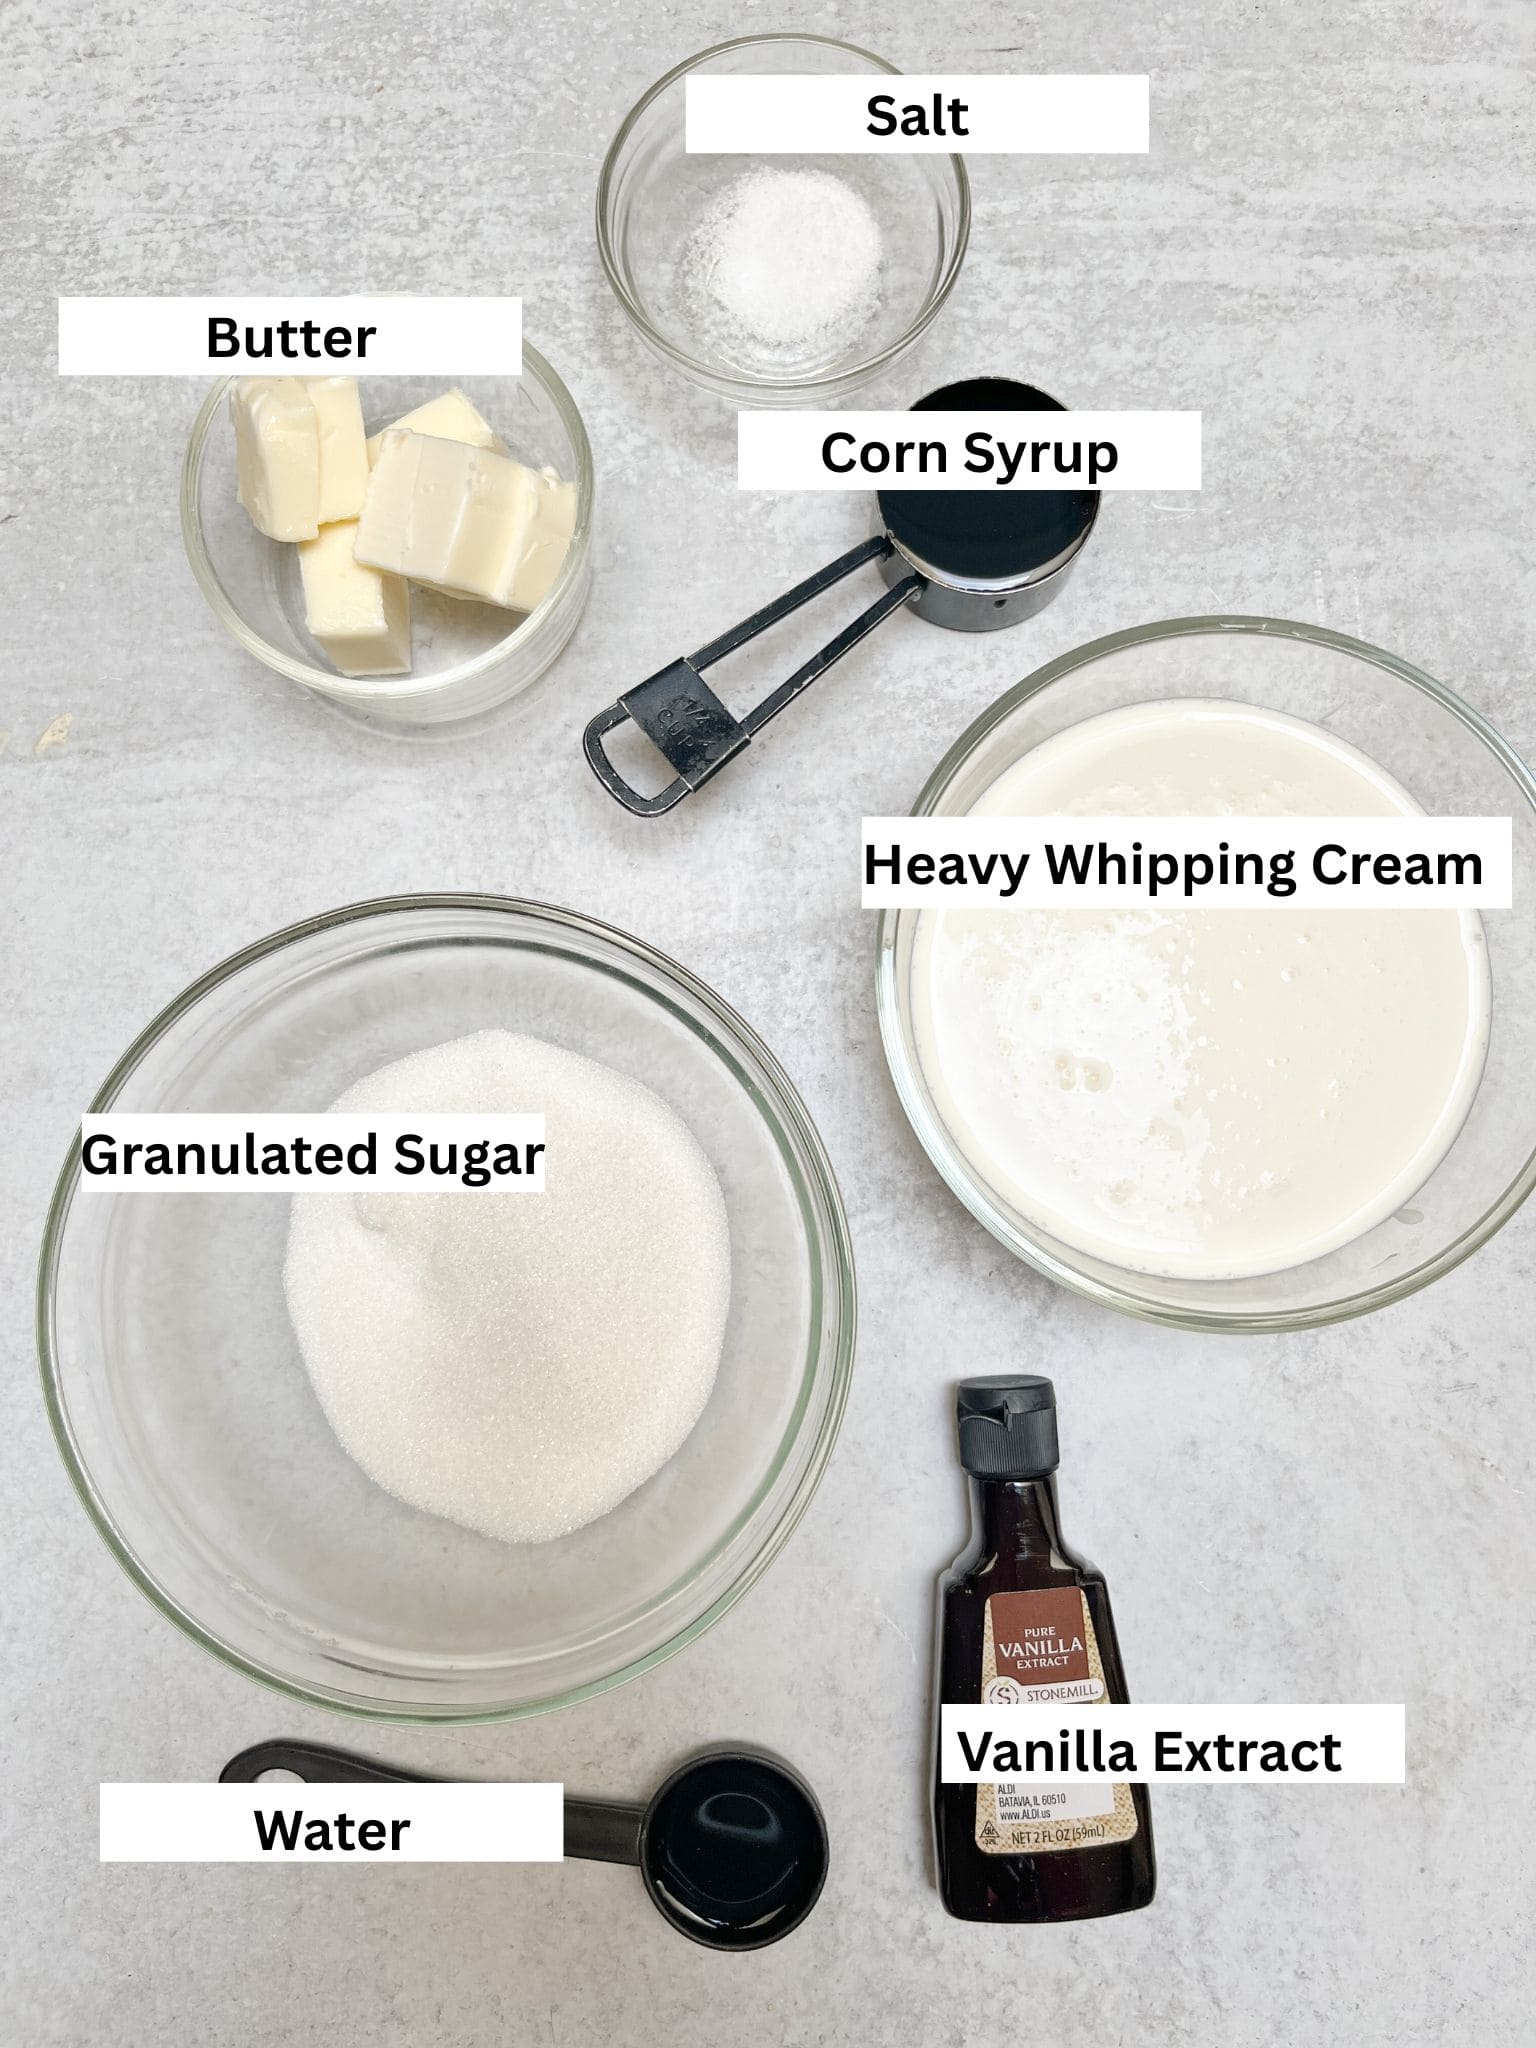
- Pure cane sugar - The key to smooth caramel. Granulated beet sugar often crystallizes, so make sure your bag says "pure cane."
- Water - Just enough to make the sugar look like wet sand. It helps the sugar dissolve evenly and reduces the risk of burning. A tablespoon or two is just enough.
- Heavy cream - Room temperature is essential. Cold cream will cause the caramel to seize up. I suggest even microwaving it for about 30 seconds.
- Unsalted butter - Cut into pieces for easy melting. It adds richness and helps thicken the sauce. You can also use salted butter and adjust the actual salt in the recipe.
- Sea salt - Balances sweetness and adds depth. Use flaky sea salt if you want extra bursts of flavor.
- Vanilla extract - Stirred in at the end for warmth and complexity.
- Corn syrup (optional) - Helps prevent crystallization if you're new to making caramel.
See recipe card for quantities.
Instructions
Use this section for process shots, alternating between the step and image showing the step. Users don't like seeing process shots cluttering up the recipe card, so include your process shots here.
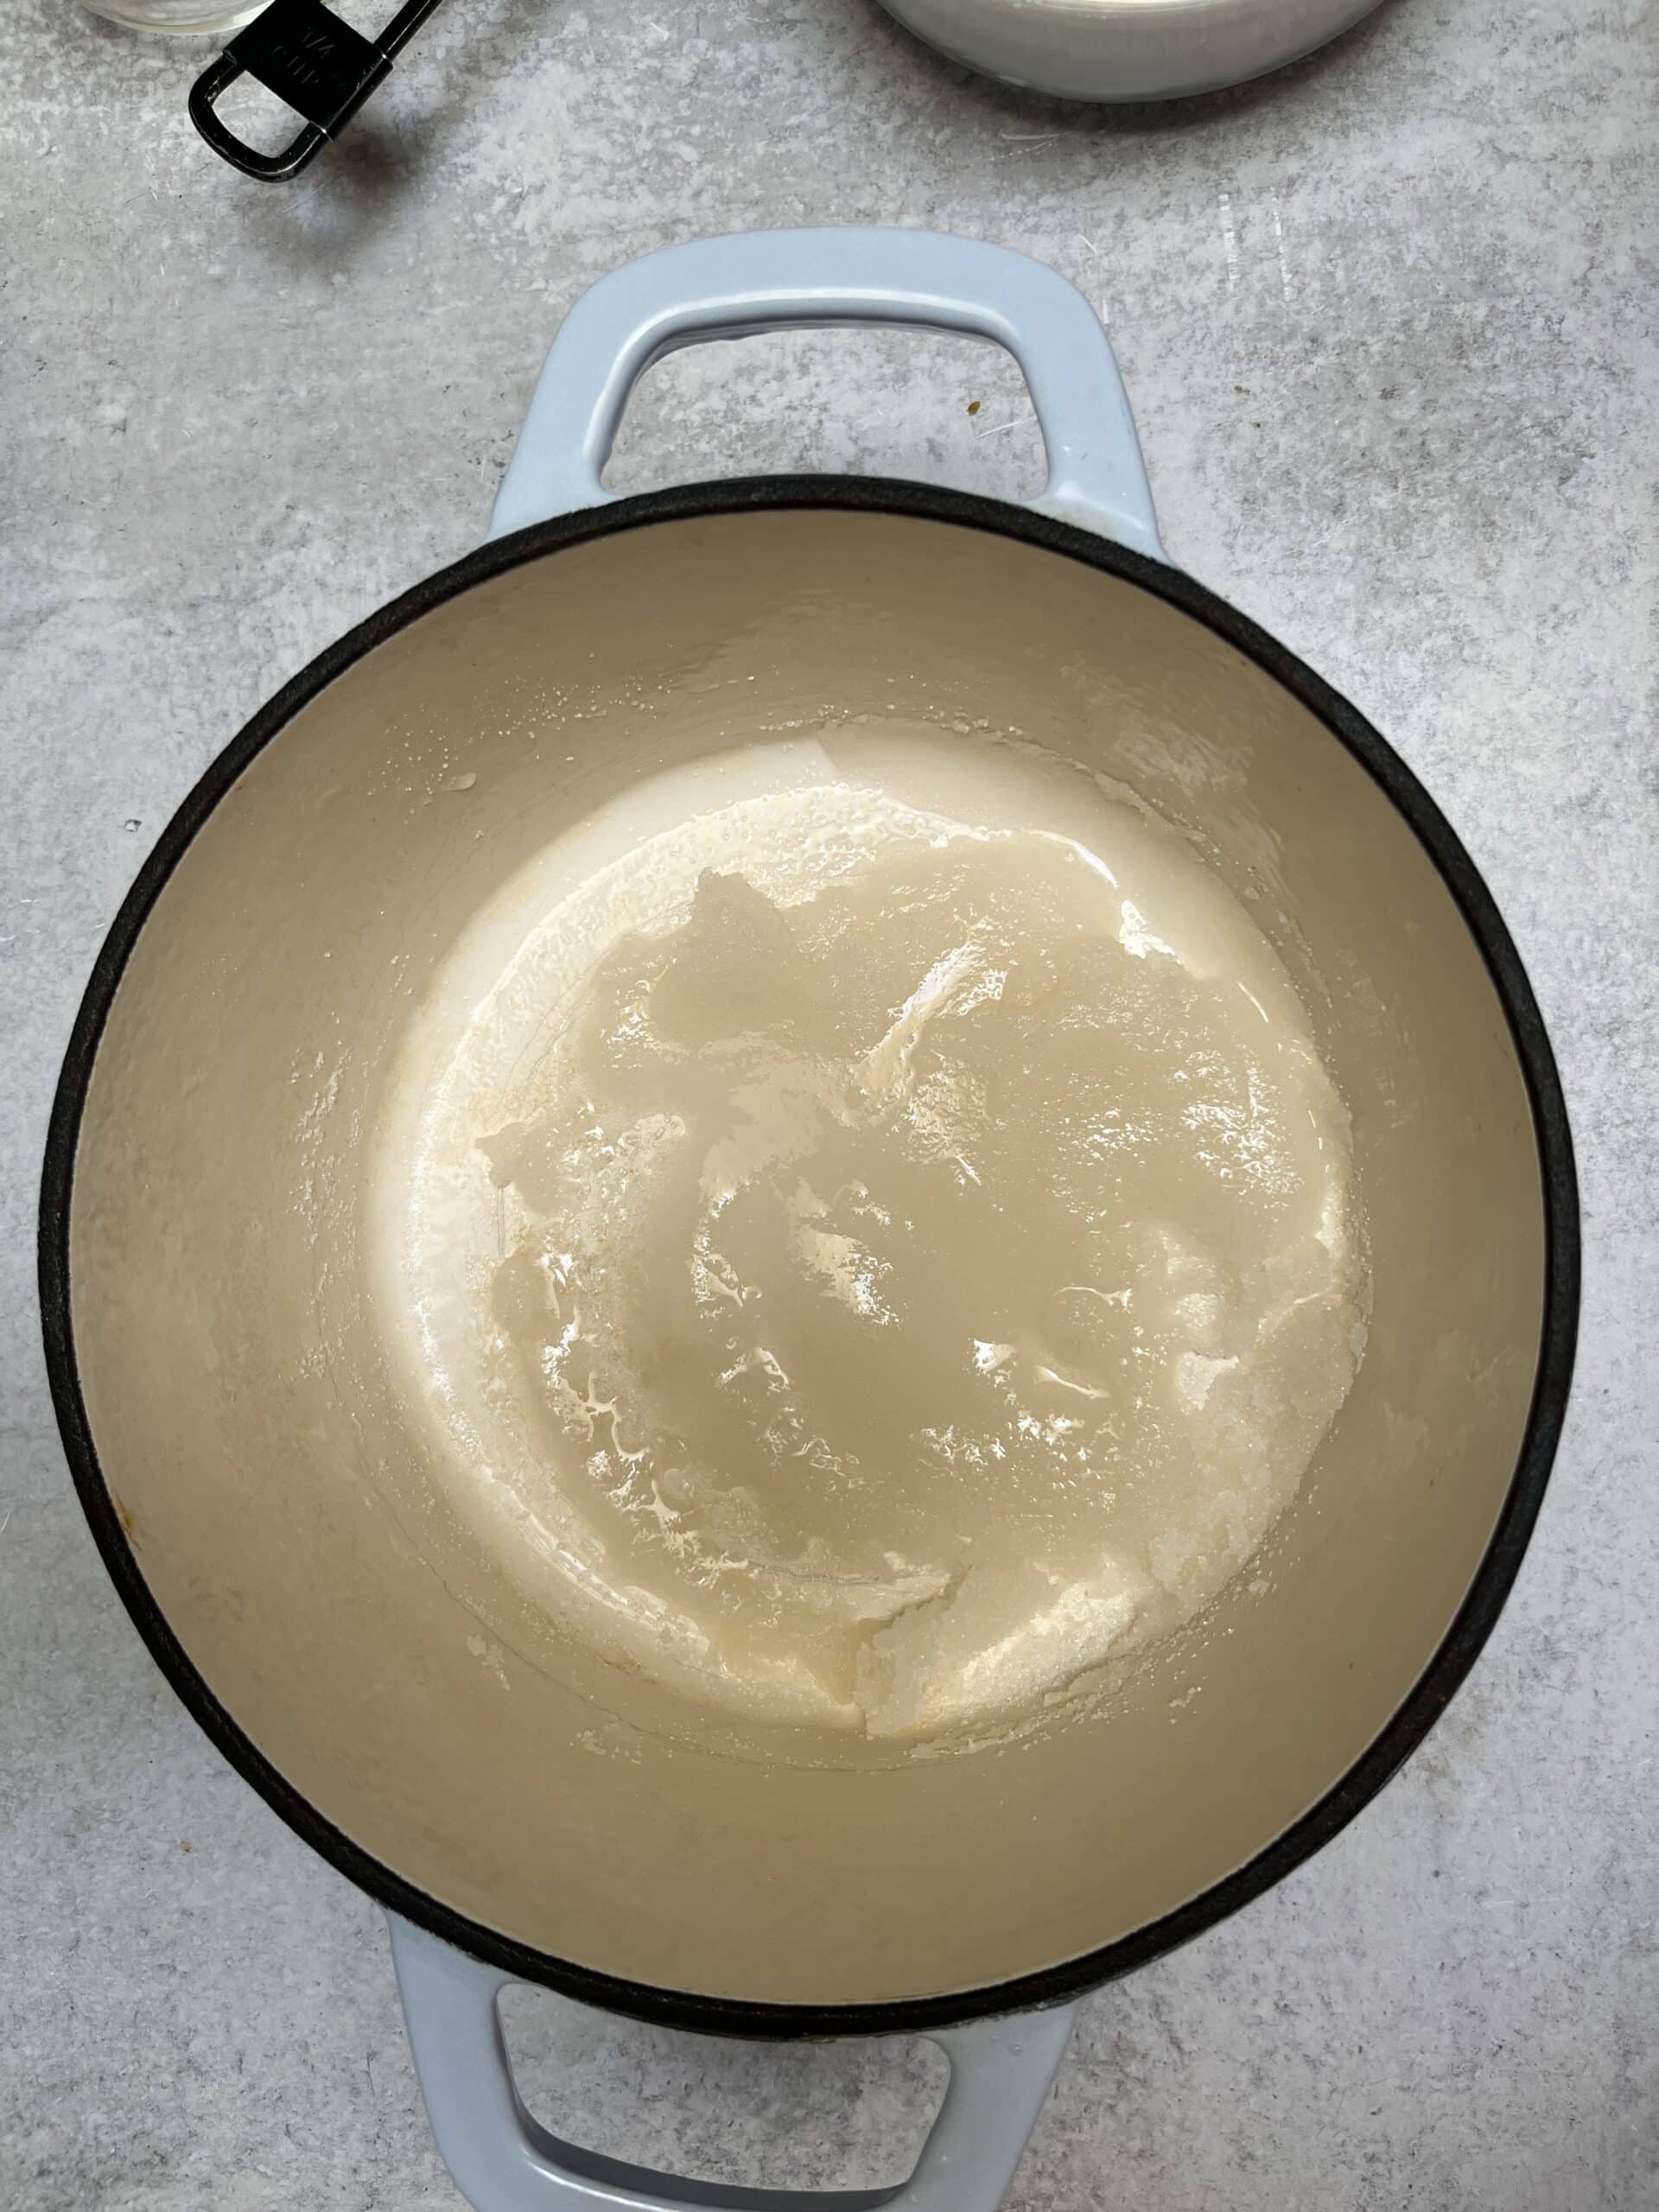
- Step 1: Combine sugar, water, and corn syrup (optional(
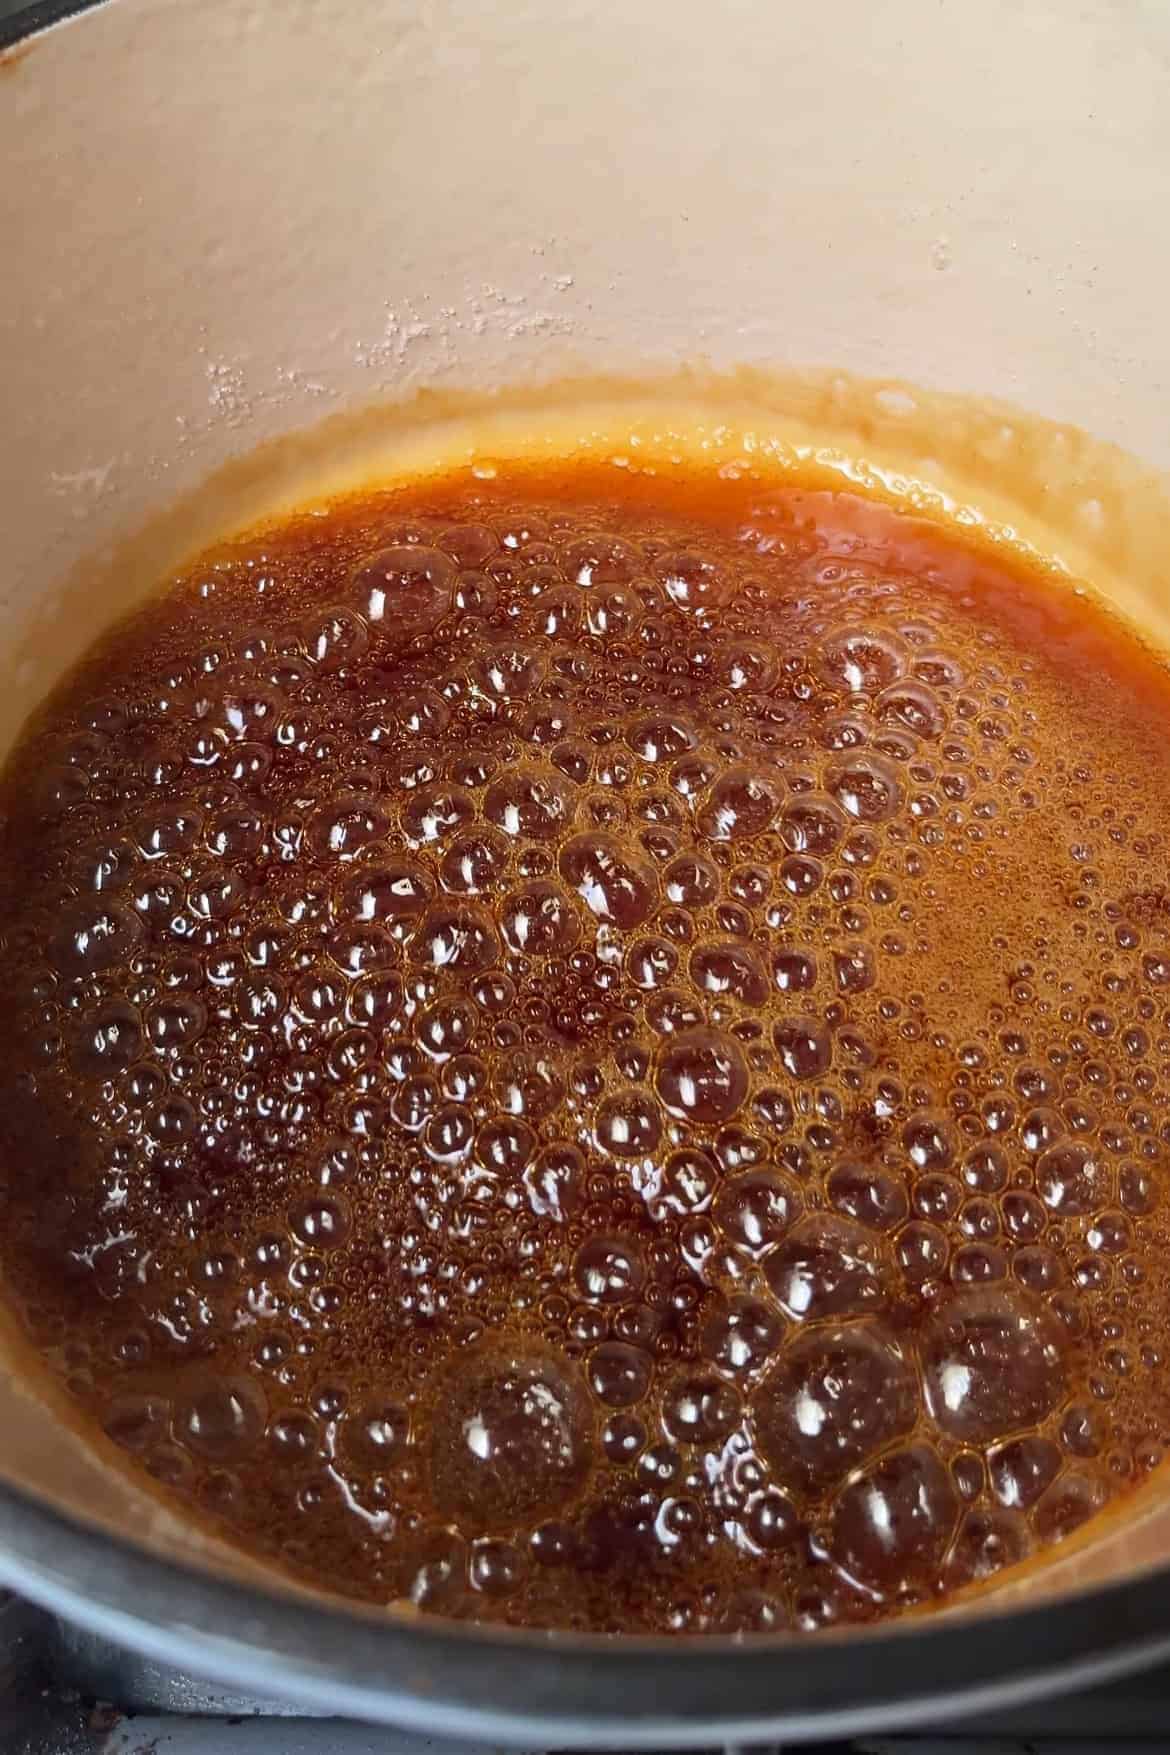
- Step 2: Cook on medium high heat until deep amber in color.
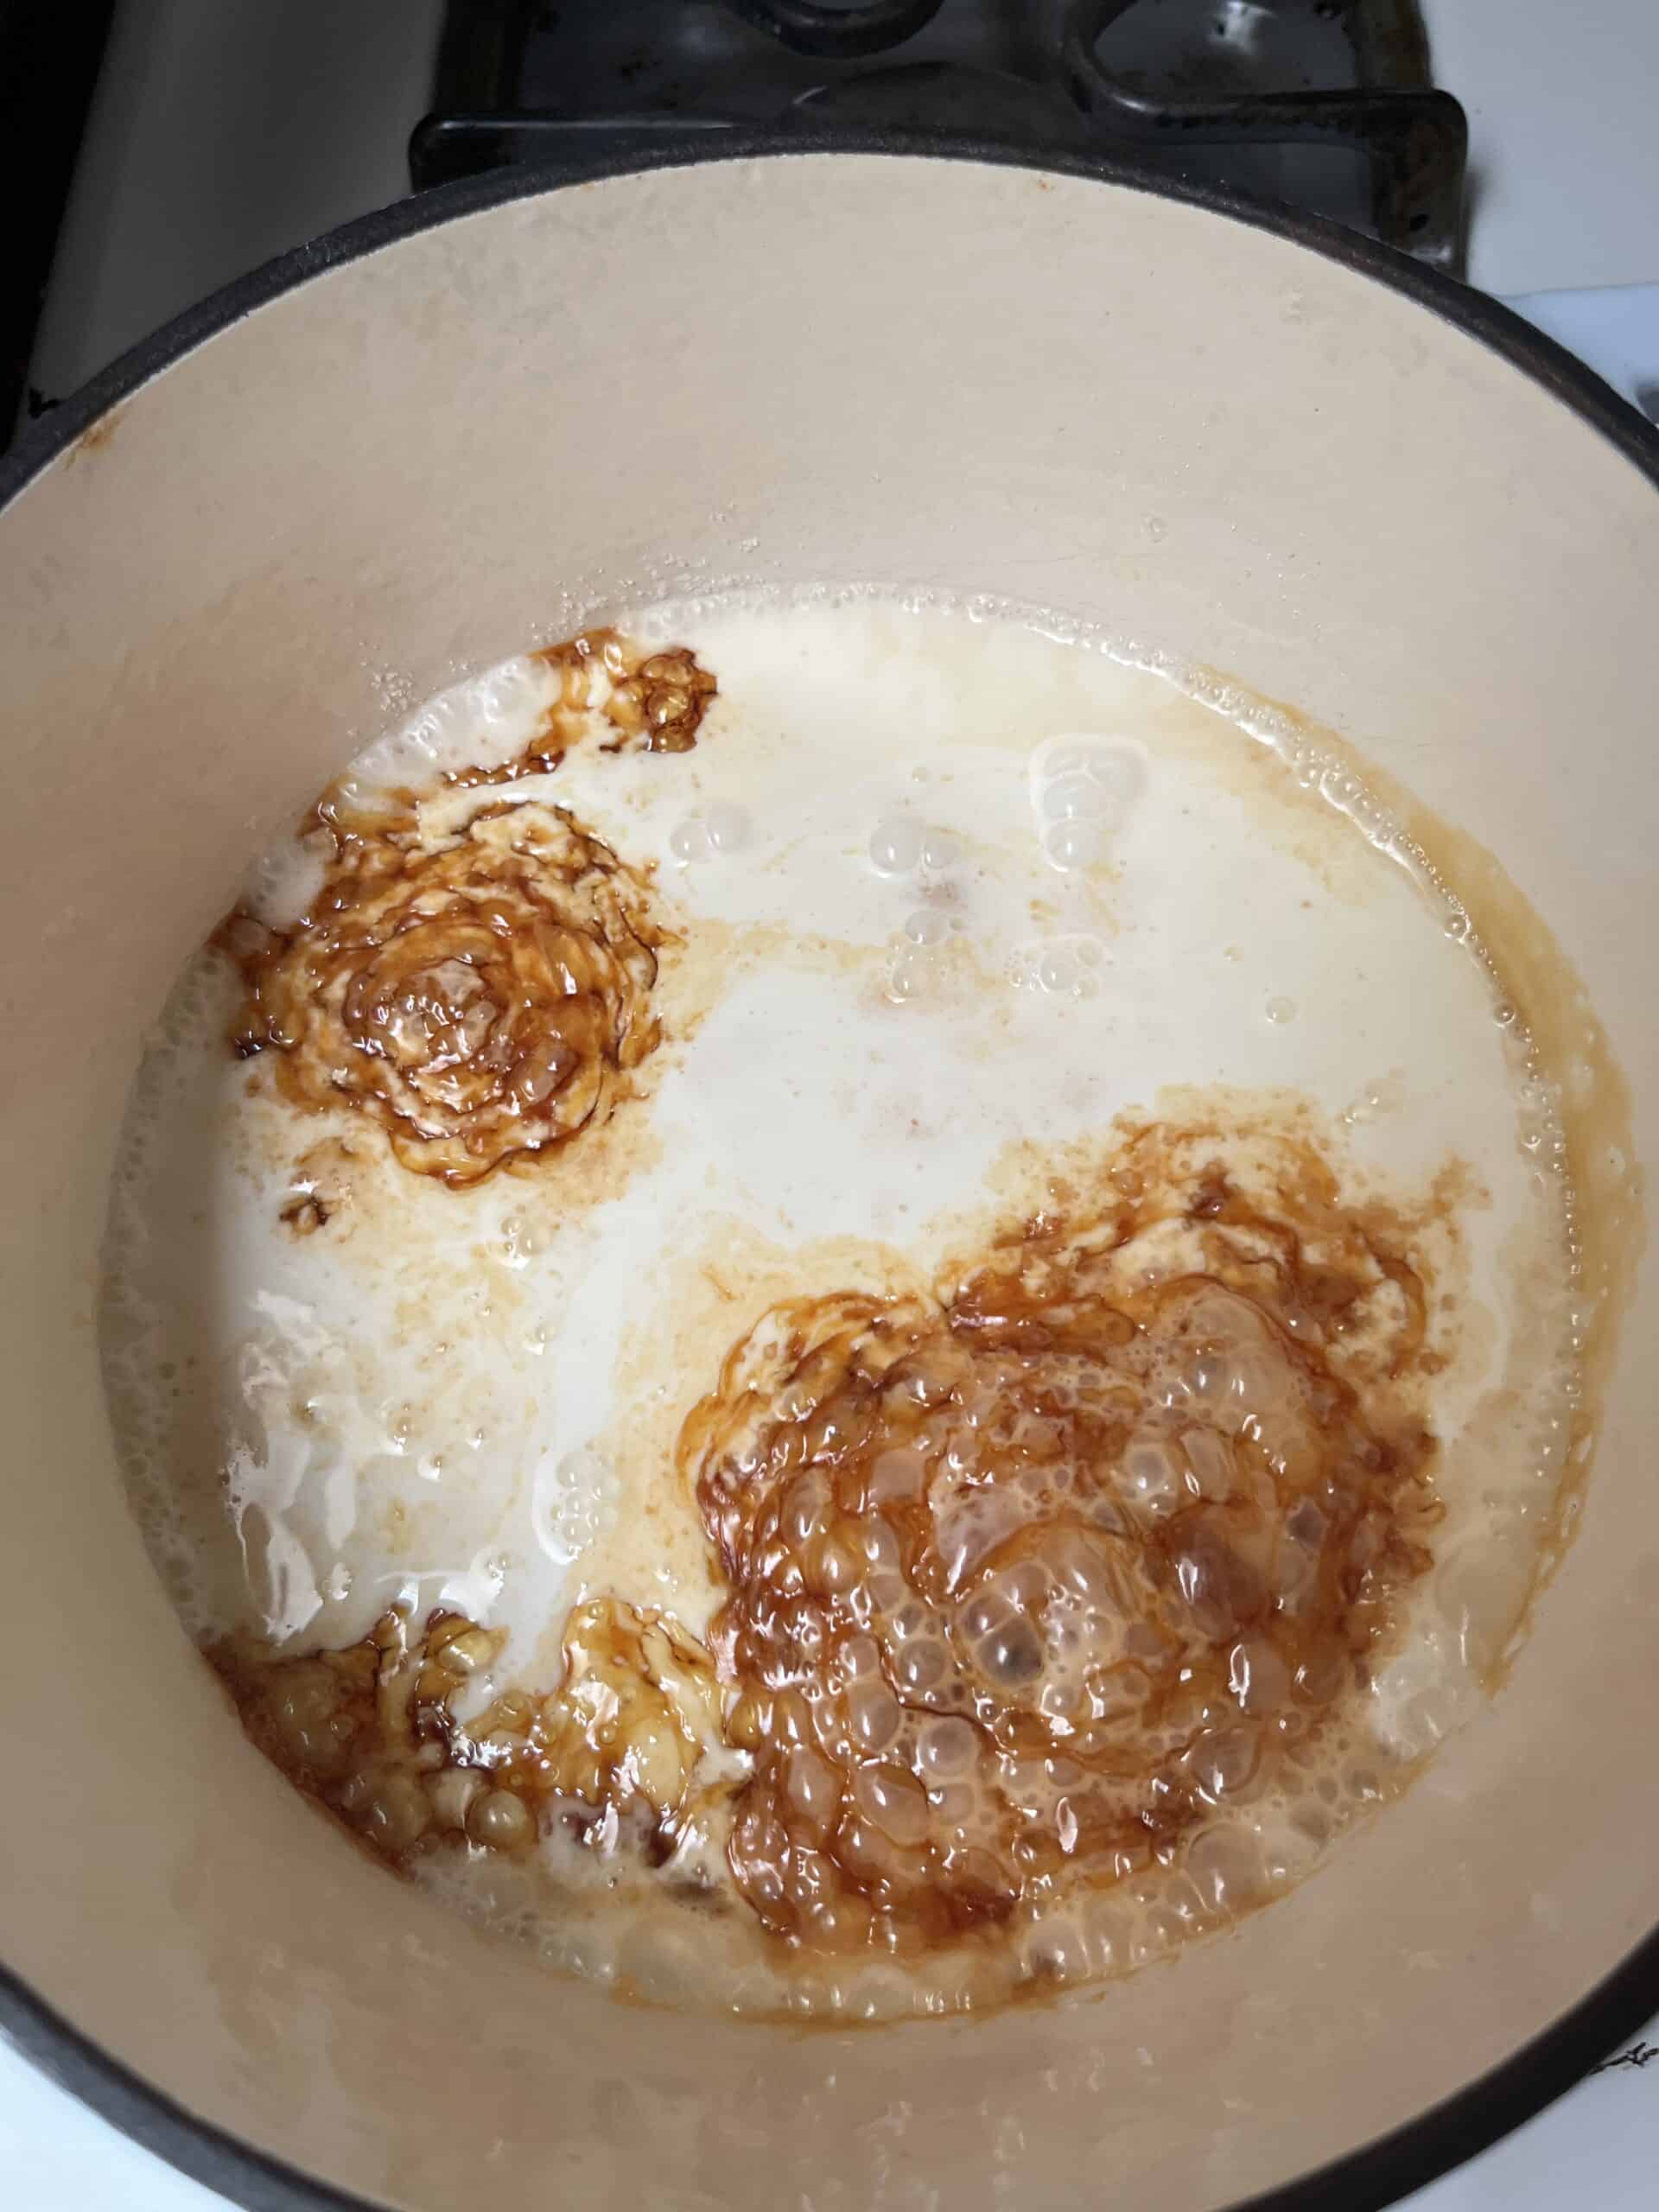
- Step 3: Slowly add in warm cream, and stir until fully combined.
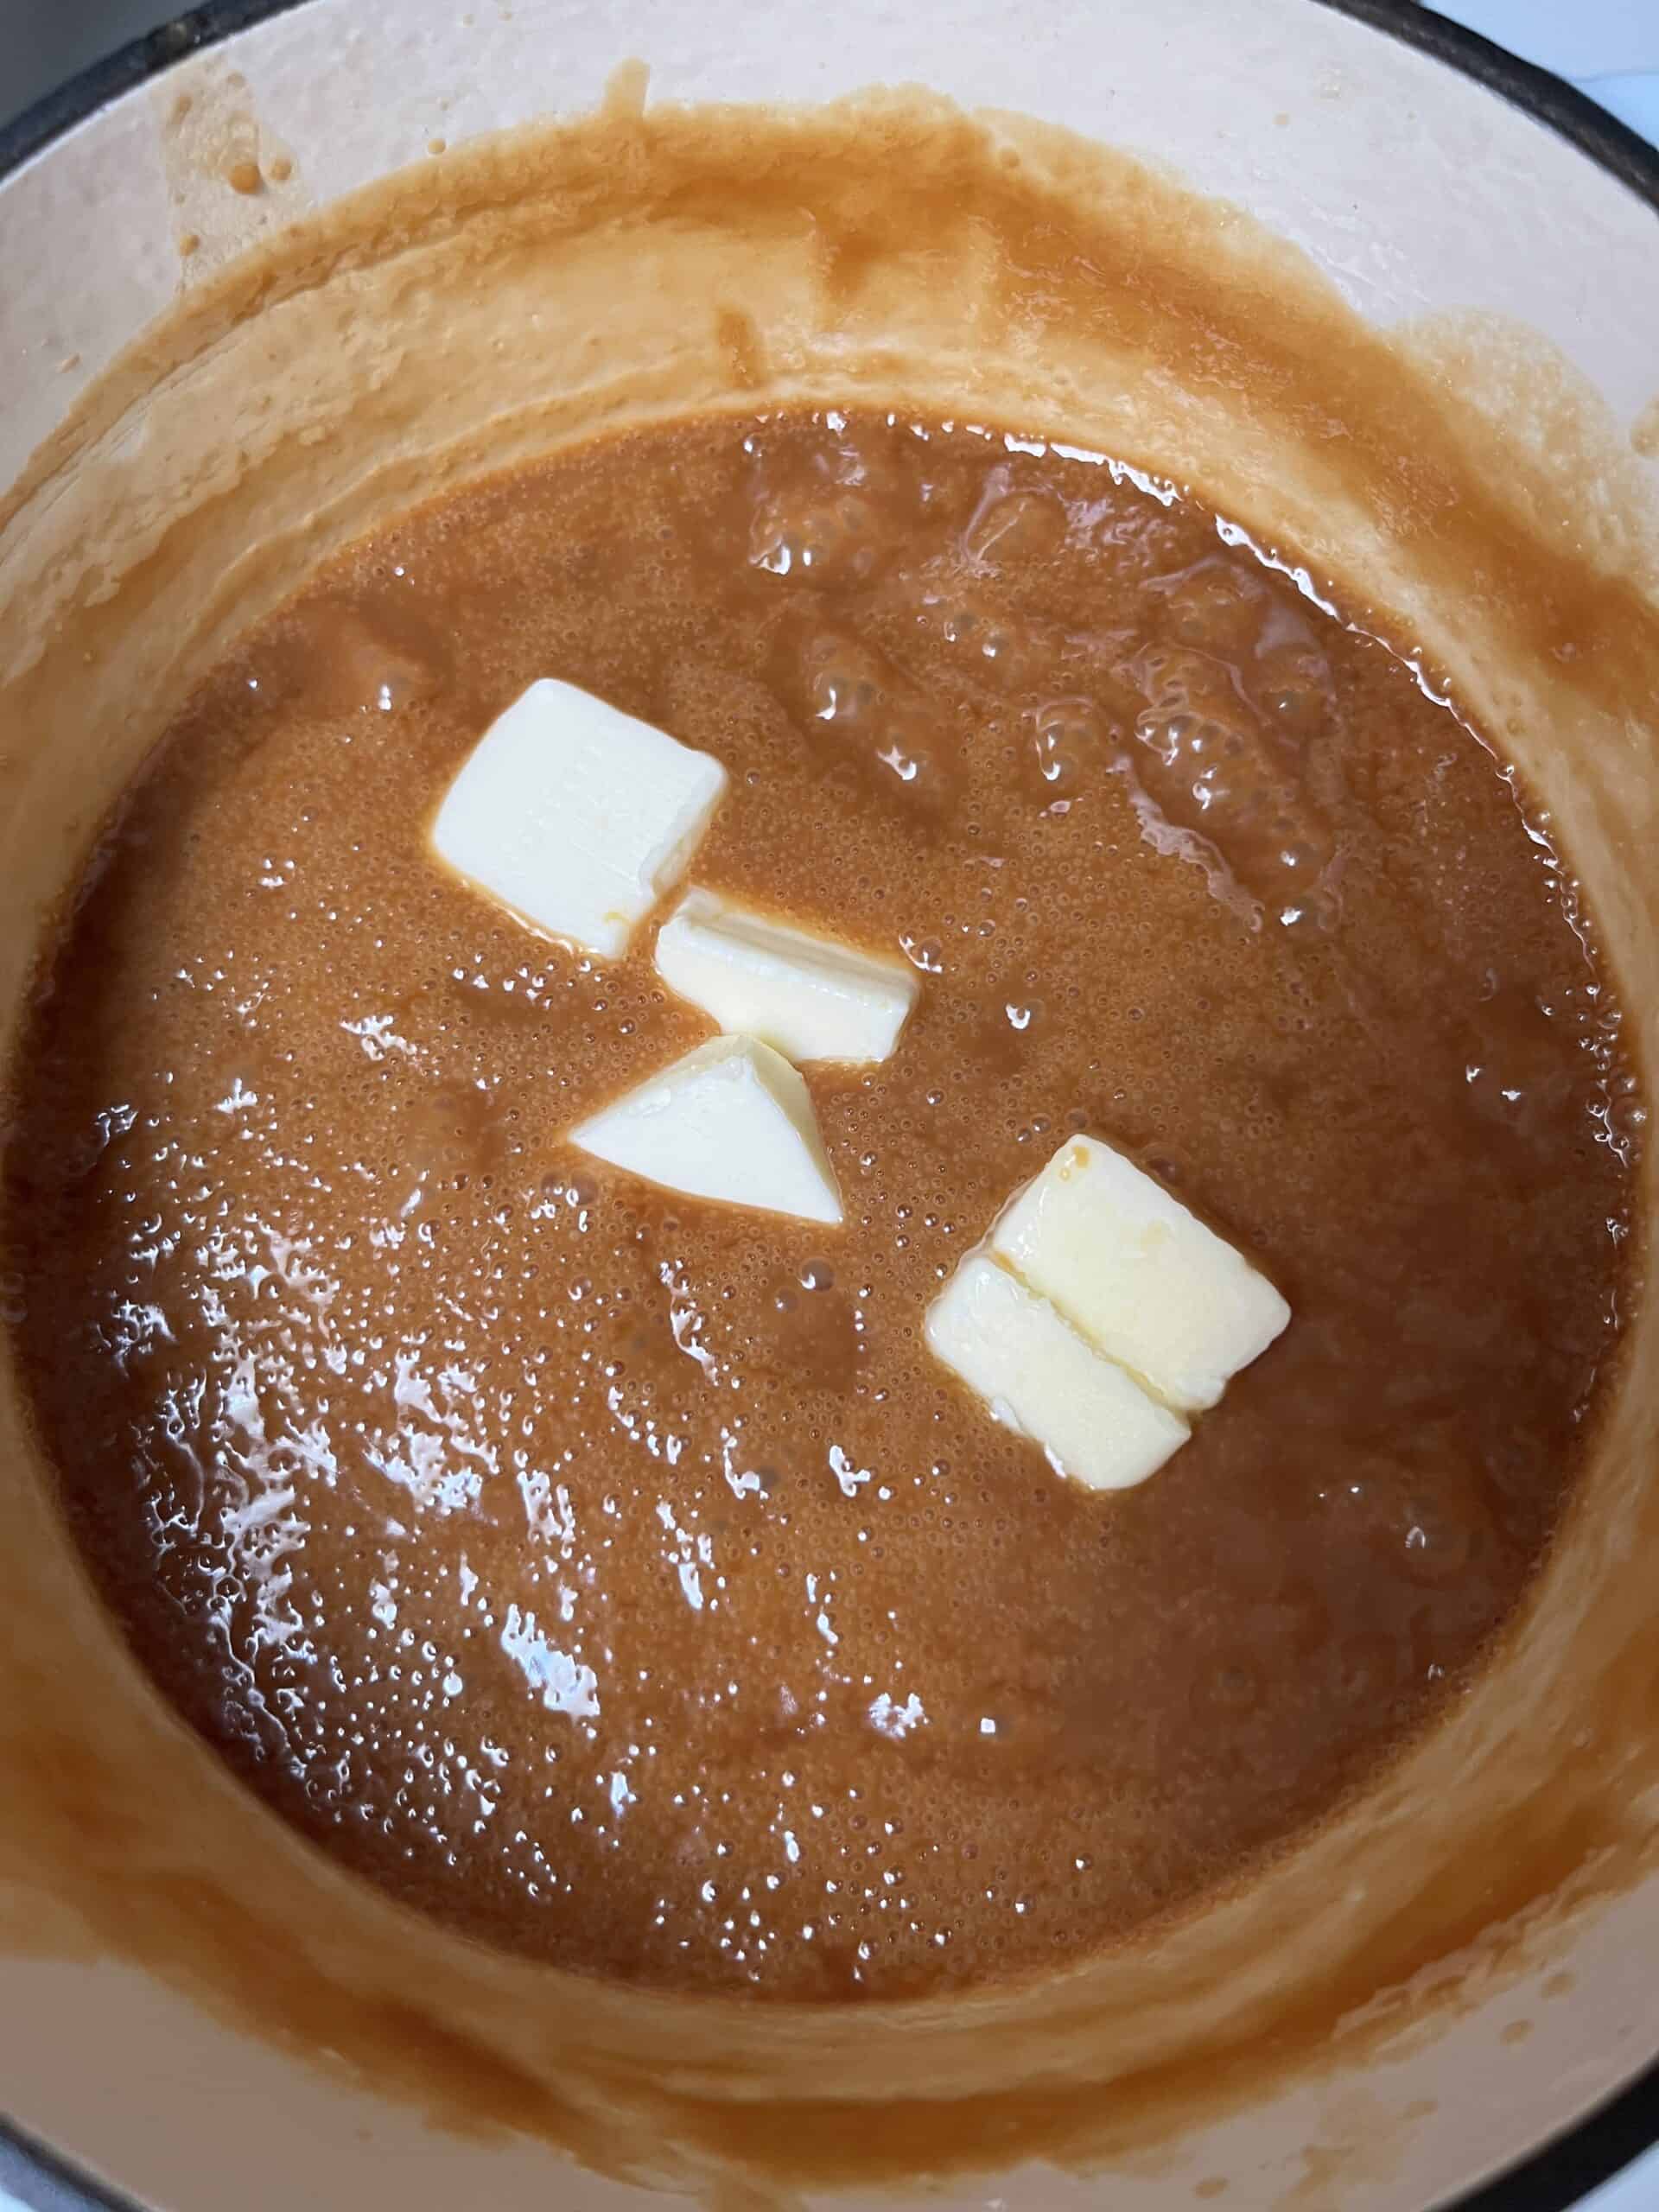
- Step 4: Add in the butter, and stir until melted. Remove from heat. Add vanilla extract and salt to taste.
Hint: Be very careful while cooking your caramel. Do NOT walk away as it can burn very quickly. Be sure to use a large pot, as the caramel will rise quite a bit as you add in the cream. It can be very dangerous if it boils over as it is very hot.
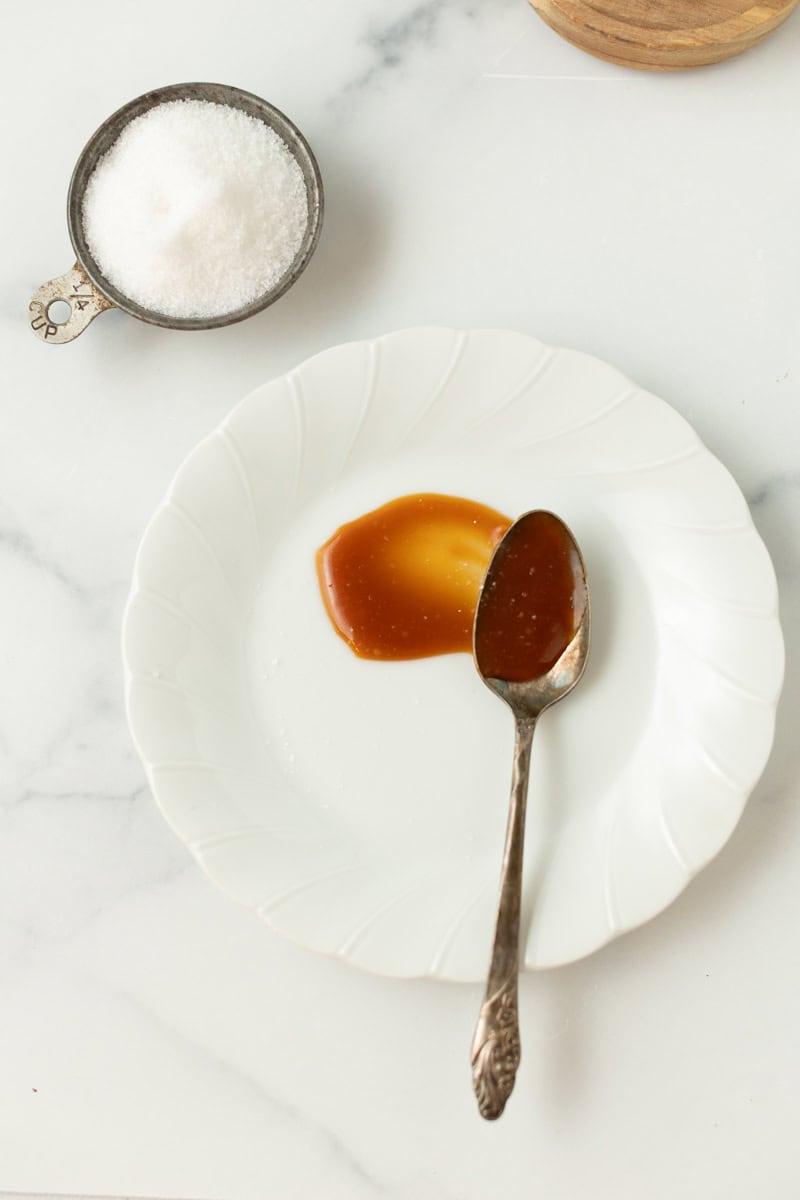
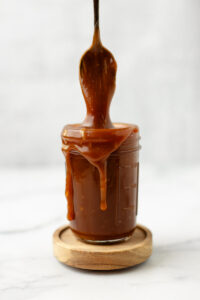
What Color Should the Caramel Be?
Color is one of the most important indicators when making caramel. The final sauce should be a deep amber color, rich and golden-brown. To get there, you'll need to let the sugar darken beyond pale yellow. Many beginners pull the sugar too early, thinking it looks "done," but if you add the cream when it's still light, the caramel will taste overly sweet and won't set up correctly.
Remember: caramel isn't just about color-it's about a chemical reaction. When sugar is heated past its melting point, it begins to break down and form new flavor compounds. This process, called caramelization, is what gives caramel its toasted flavor and thicker texture.
If your sugar isn't cooked long enough, you won't get that reaction. The sauce may stay thin, pale, and one-dimensional in flavor. Always aim for that deep amber color before adding the cream.
For those who like precision, you can also use a candy thermometer. Sugar typically reaches the right stage for caramel between 340°F and 350°F (171-177°C). At this temperature, the caramel develops the perfect depth of flavor and will set up properly once cooled.
Tip: If you're unsure, use both cues together-watch the color and double-check with a thermometer. This way you'll build confidence until your eye can recognize the perfect stage every time.
Substitutions
If you know how to make the recipe fit a certain diet, let the reader know here. Don't fake it - only provide guidance on topics you have actual experience with.
- Dairy-free - I've never made this recipe with a dairy free alternative and I'm not sure that it would work. If you do try it, let me know how it goes! Meaningful Eats has a dairy free version here that had great reviews!
- Refined sugar alternative - Use coconut sugar for a darker, toffee-like caramel. The texture may be slightly grainier.
- Salt swap - Leave out the salt if you want a pure, sweet, caramel taste.
Variations
Giving the visitor ideas on how they can change this recipe to better suit their dinner guests, or their cultural cuisine, is a great way to increase the chances they make the recipe
- Bourbon- After the caramel is cooled, stir in a tablespoon or two of your favorite bourbon or whiskey for an intense flavor.
- Chocolate - As the caramel cools, stir in a few tablespoons (to taste) of chocolate for a rich chocolate-caramel.
Equipment
- Heavy-bottomed saucepan - Prevents hot spots that burn sugar.
- Heatproof whisk or silicone spatula, or Wooden spoon - Essential for stirring butter and cream into hot sugar. I suggest a wooden spoon.
- Glass storage jars - Mason jars work perfectly for storing and gifting.
If you don't have a heavy pan, use medium heat and watch even more carefully to avoid scorching.
Storage
Refrigerator - Store in a sealed jar for up to 3 weeks. Reheat gently in the microwave in 10-second bursts or on the stove over low heat.
Freezer - Caramel freezes beautifully for up to 2 months. Thaw overnight in the fridge, then warm before serving.
Top Tip
This is one of the biggest debates in caramel-making. Many recipes instruct you to stir constantly while the sugar cooks. It's a safe approach and can help beginners avoid hot spots.
But here's the truth: in professional kitchens, we rarely had time to stand over a pot stirring caramel nonstop. Instead, we used the "wet sand" method-adding just enough water to the sugar so it dissolves evenly. Then we let it cook over medium-high heat without stirring. The water helps prevent crystallization, and the sugar caramelizes evenly while you simply keep an eye on the color.
If you're nervous, you can swirl the pan occasionally, but resist the urge to stir. Let the sugar do its thing, and you'll end up with a beautifully smooth caramel every time.
FAQ
- Use room temperature cream and butter-cold dairy will cause the caramel to seize.
- Don't walk away. Sugar changes from perfect to burnt in seconds.
- Swirl the pan instead of stirring while the sugar cooks to prevent crystallization.
- If crystals form, brush down the sides of the pan with a wet pastry brush.
- The caramel will look thin when hot but will thicken significantly as it cools.
Related
Looking for other recipes like this? Try these:
Homemade Salted Caramel
Ingredients
- 1 cup granulated cane sugar
- 6 Tablespoons unsalted butter Room Temperature
- ½ cup heavy cream Room temperature or slightly warmed
- 1 Teaspoon Vanilla Extract
- 1 teaspoon salt To Taste
- 1 Tablespoon Corn Syrup optional
Instructions
- Dissolve the sugar - In a heavy-bottomed saucepan, combine sugar and water. Stir gently until the sugar looks like wet sand. Place over medium-high heat and let it dissolve. Once simmering, stop stirring. (insert process photo)
- Caramelize - Continue cooking until the sugar turns a deep amber color. Watch closely: pale gold turns to burnt in seconds. (insert process photo)
- Add the cream - Warm the cream slightly before using (either on the stove or in the microwave for 20-30 seconds). Slowly stream it into the caramel while whisking constantly. This step helps prevent seizing and reduces the dramatic bubbling.
- Whisk in butter - Add the butter pieces and whisk until fully melted and combined.
- Finish with flavor - Remove from heat and stir in salt and vanilla extract. The caramel will thicken slightly as it cools.
- Cool and store - Let cool for 10-15 minutes before transferring to glass jars. The sauce will continue to thicken as it sits.