Skip to content
Local Ordering
Facebook
Instagram
Recipe Index
About
Contact
Search
Subscribe for updates! →
Toggle Menu
Search
Home
Recipe Index
Pie Crust Troubleshooting Guide
As Seen on TV: What I've made on Television
Sour Cream Cheesecake
Berwyn Shops Recipe Roundup
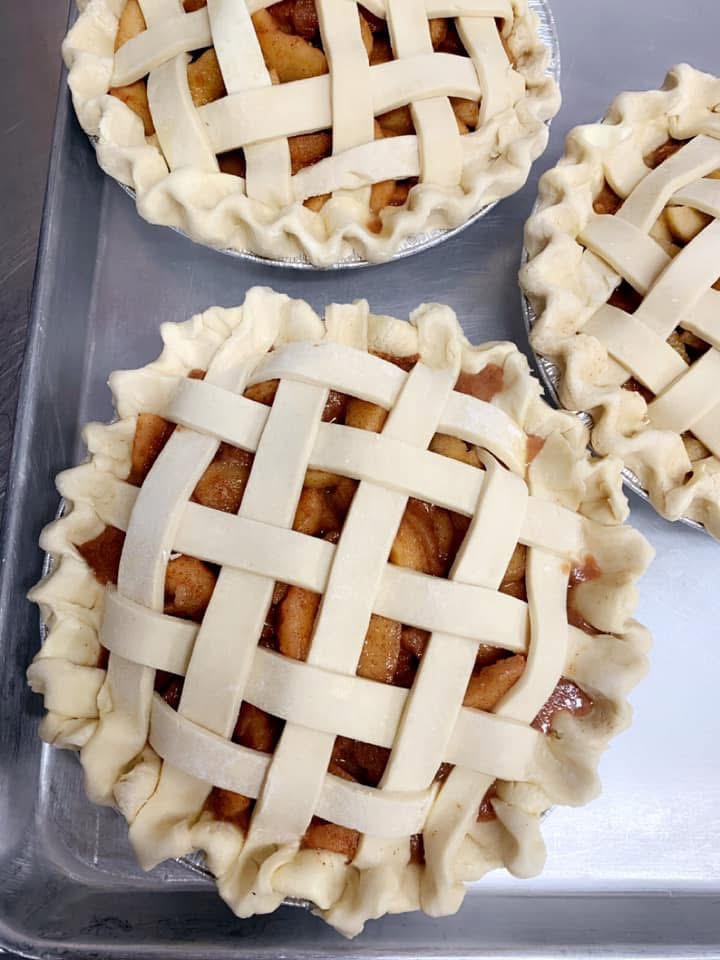
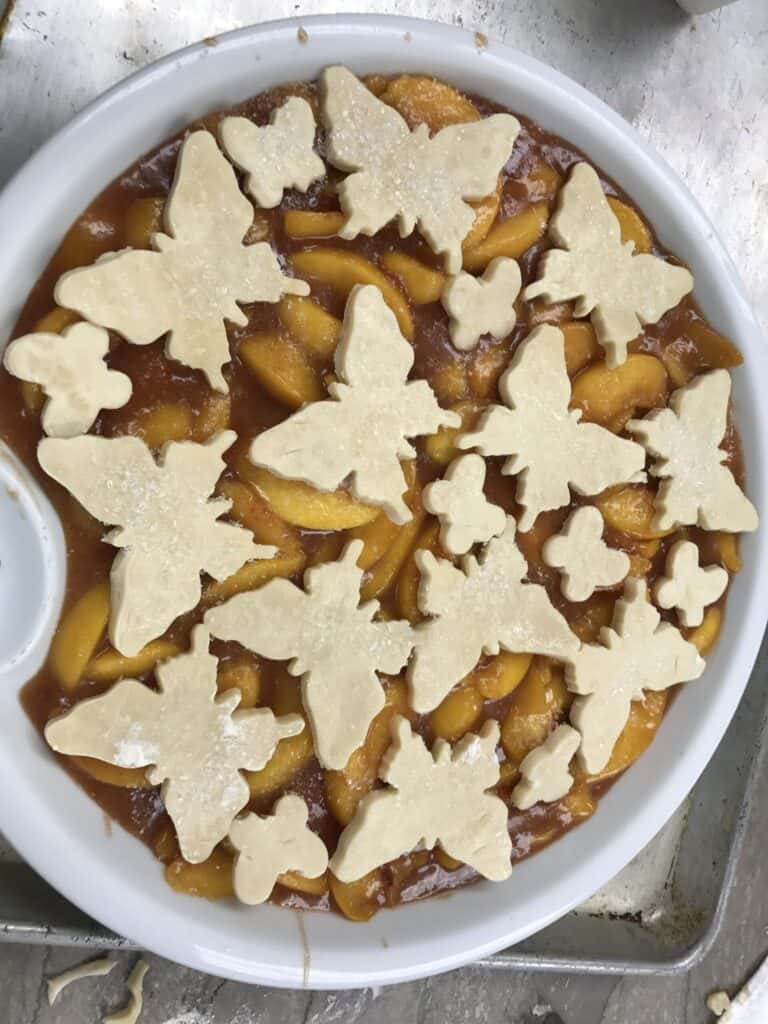
How to Use Extra Pie Dough
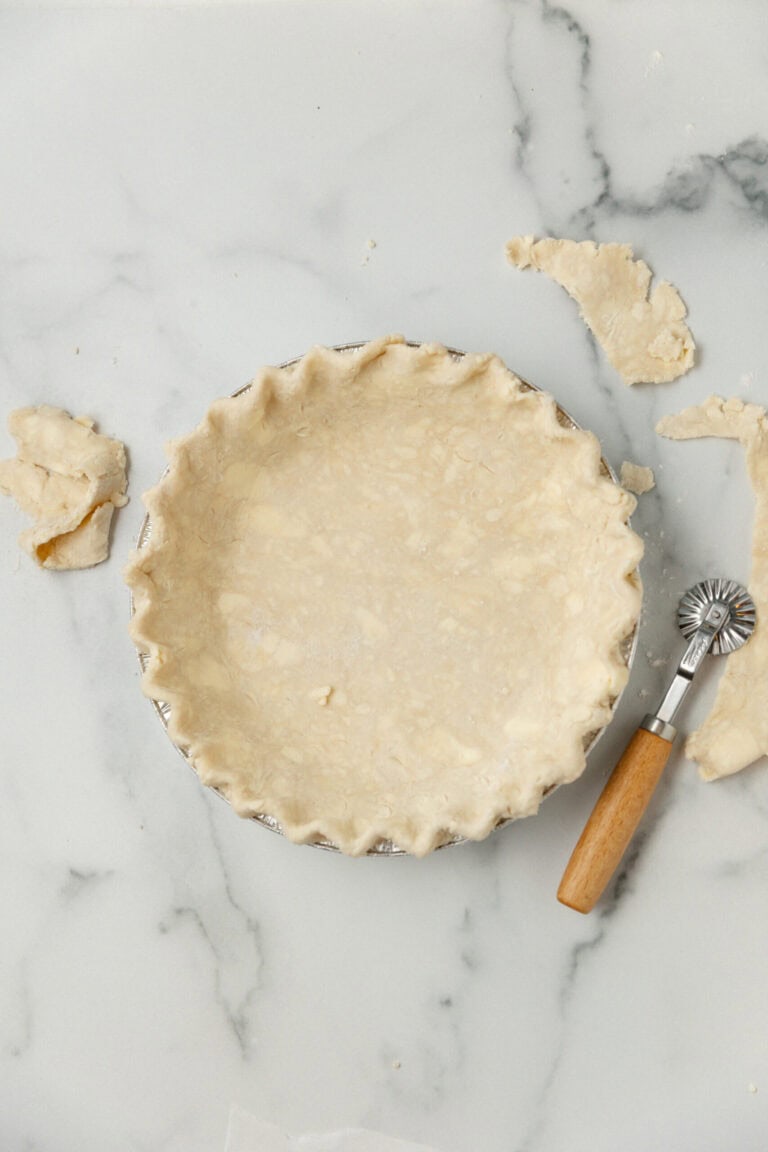
A Complete Guide to Pie Crust
Pie Temperature Guide
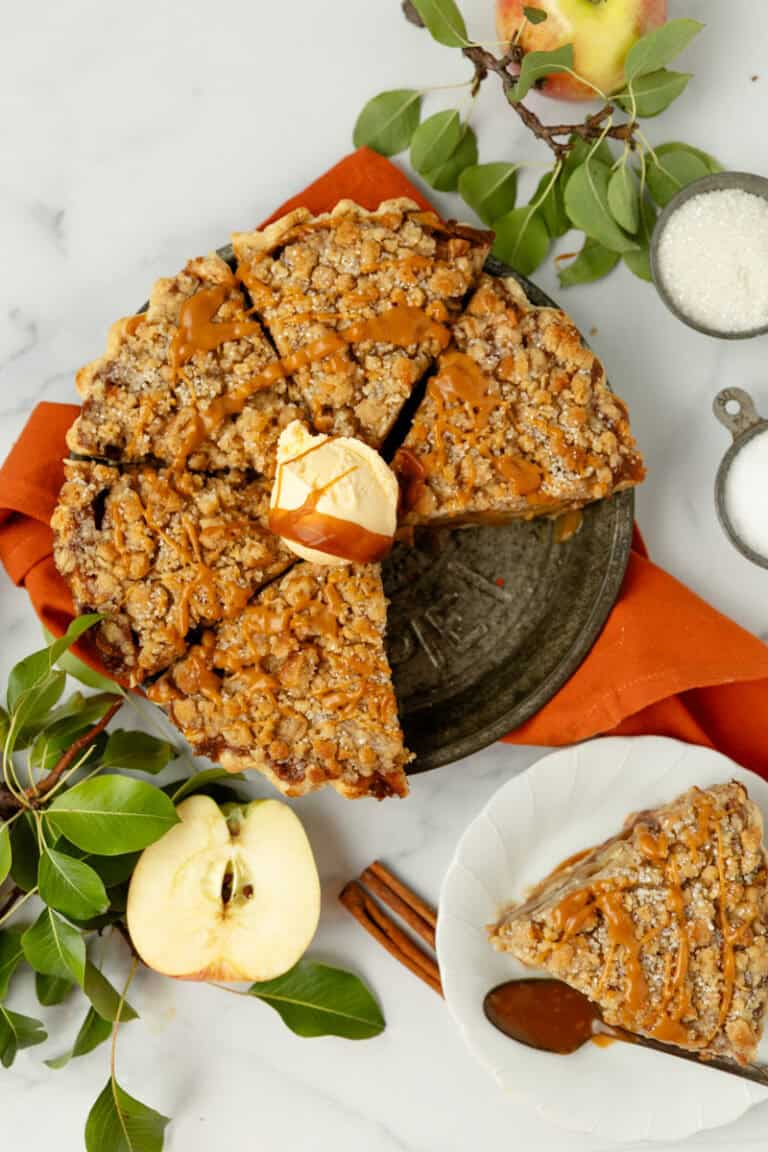
Dutch Apple Pie with Streusel Topping
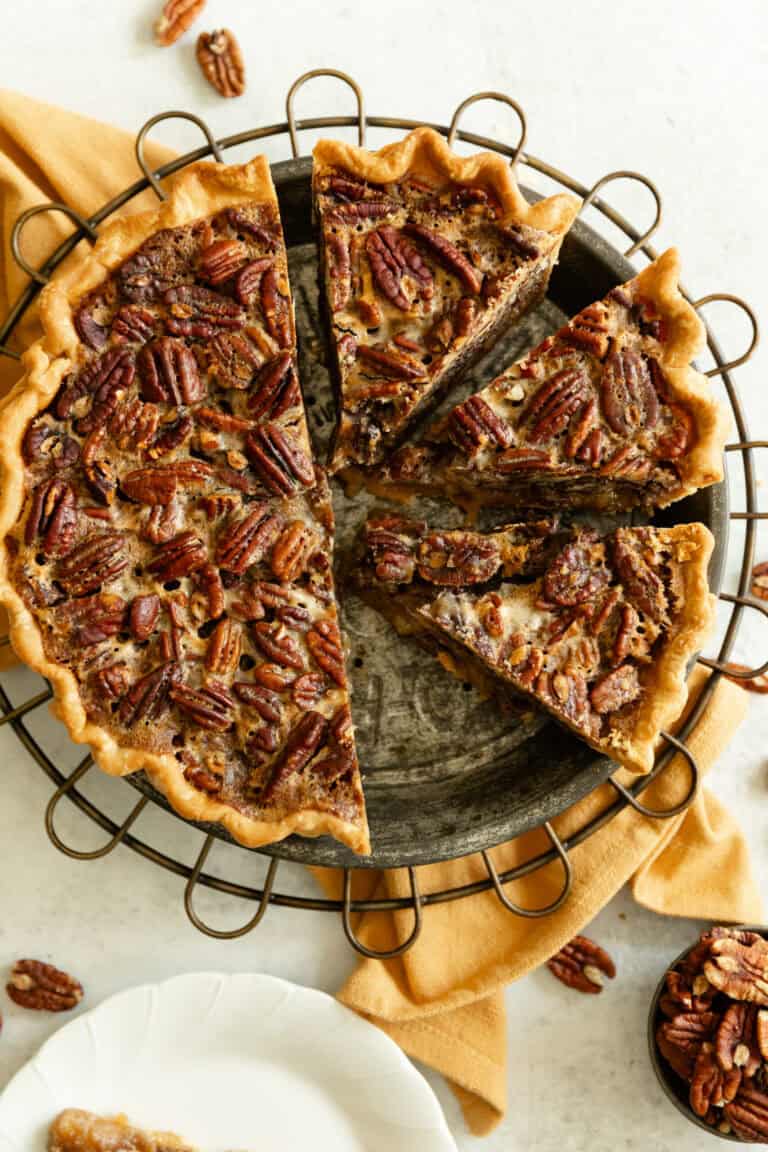
Maple Pecan Pie
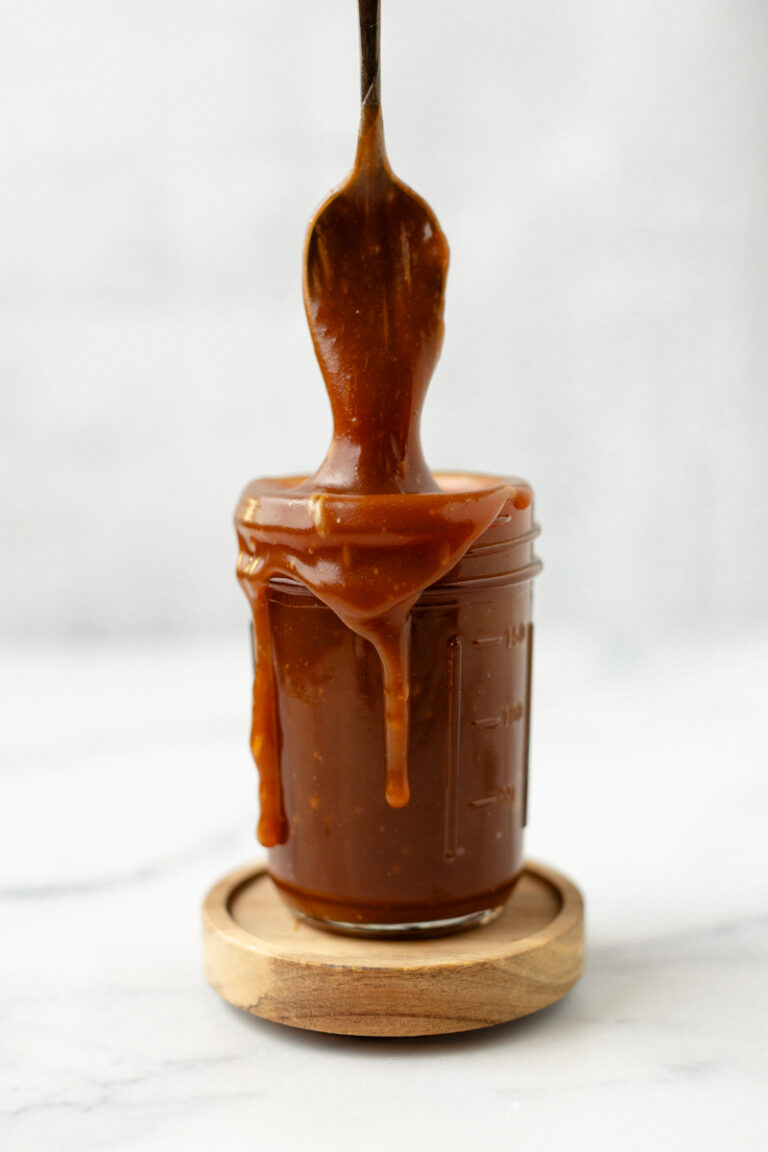
Homemade Salted Caramel
Pumpkin Spice Sheet Cake with Cream Cheese Frosting
Lasagna Soup
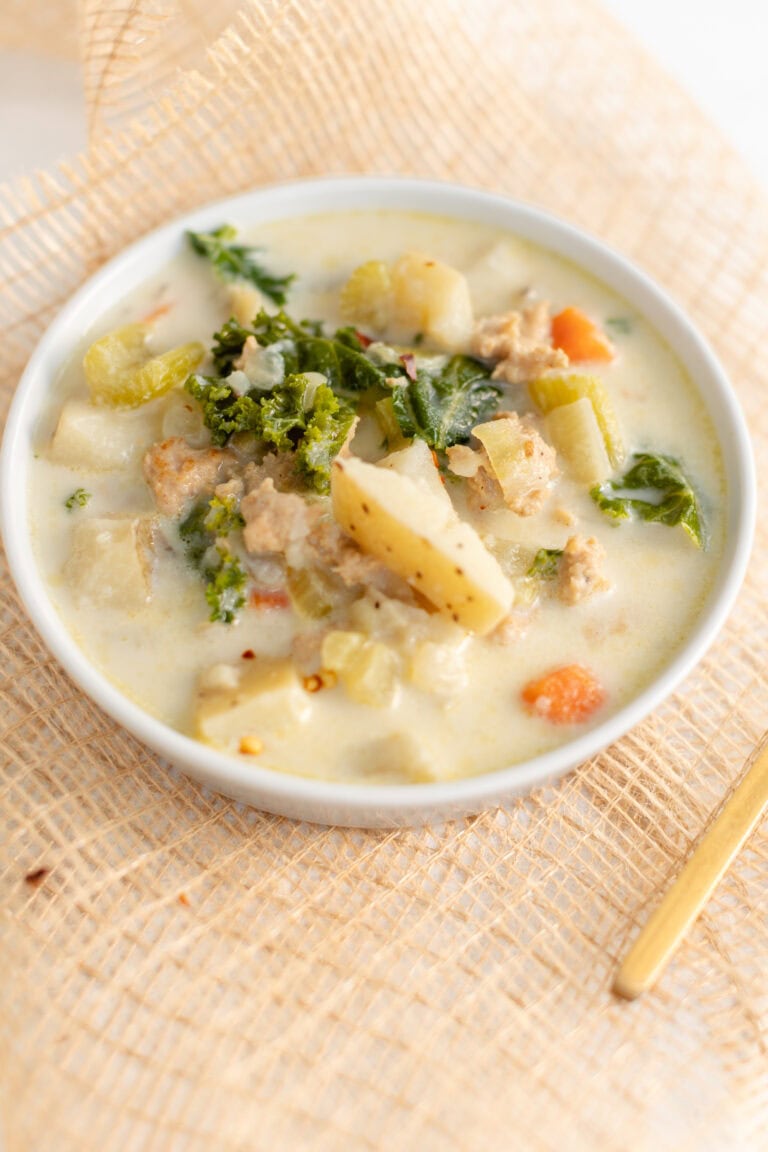
Zuppa Toscana
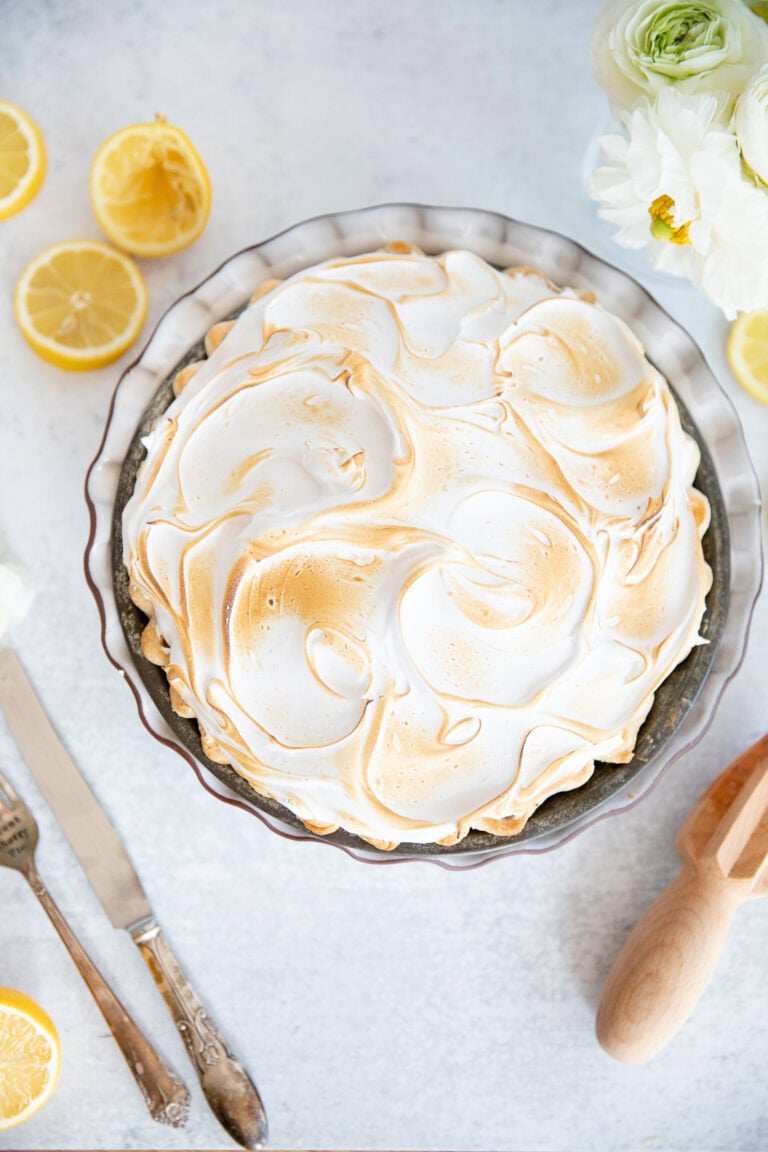
Lemon Meringue Pie
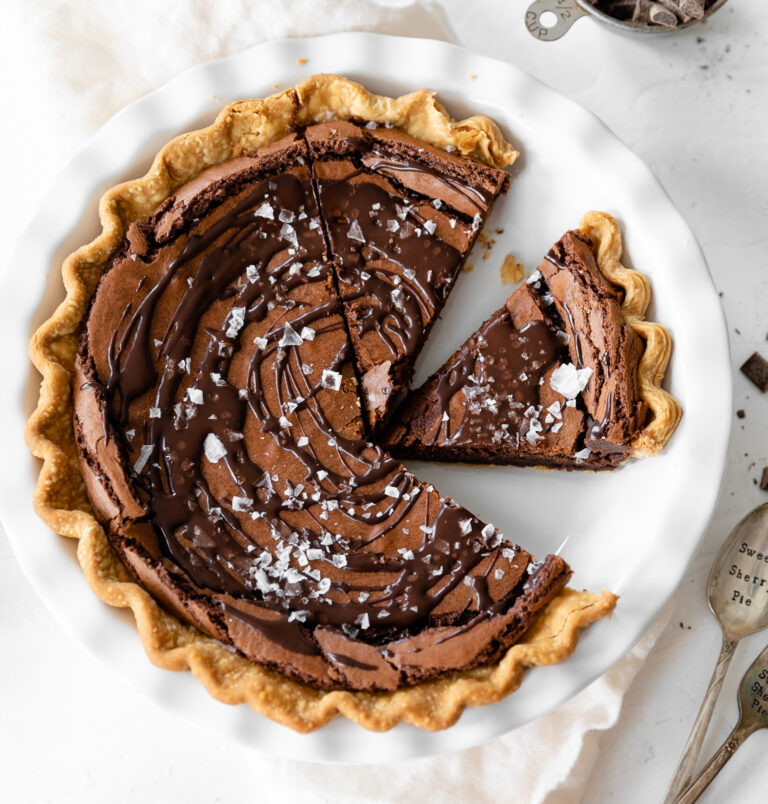
Brownie Pie
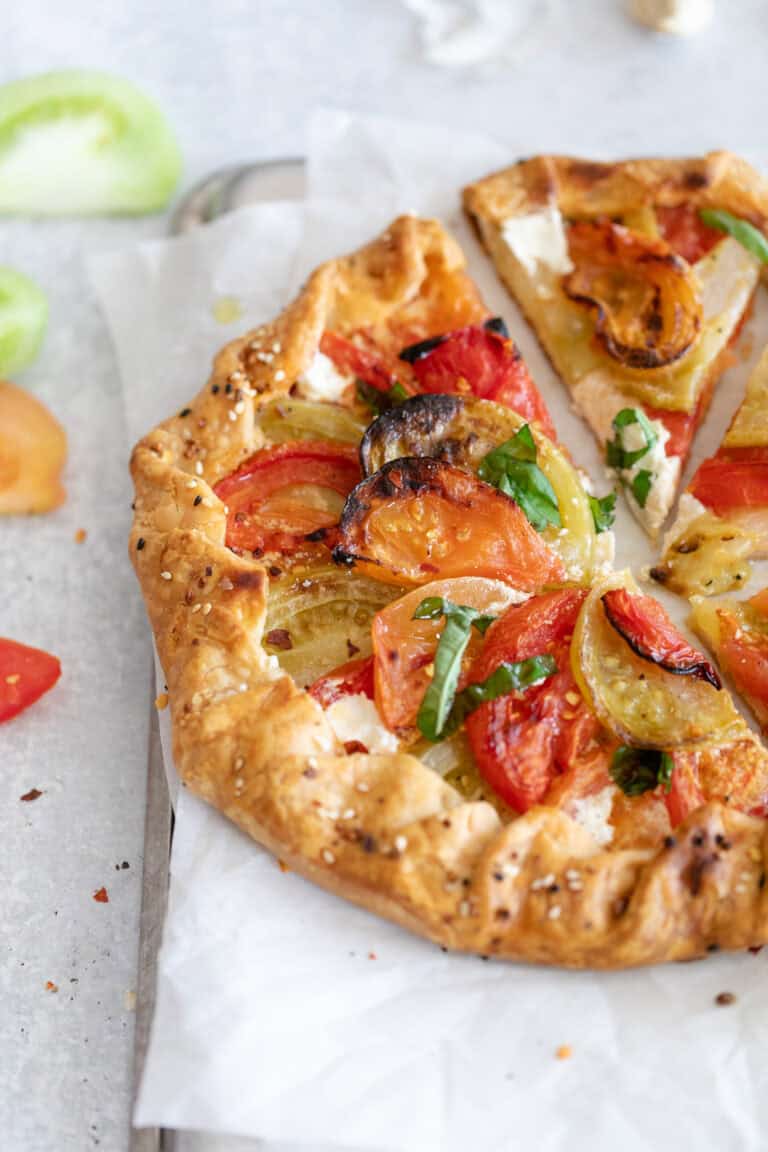
Tomato Galette
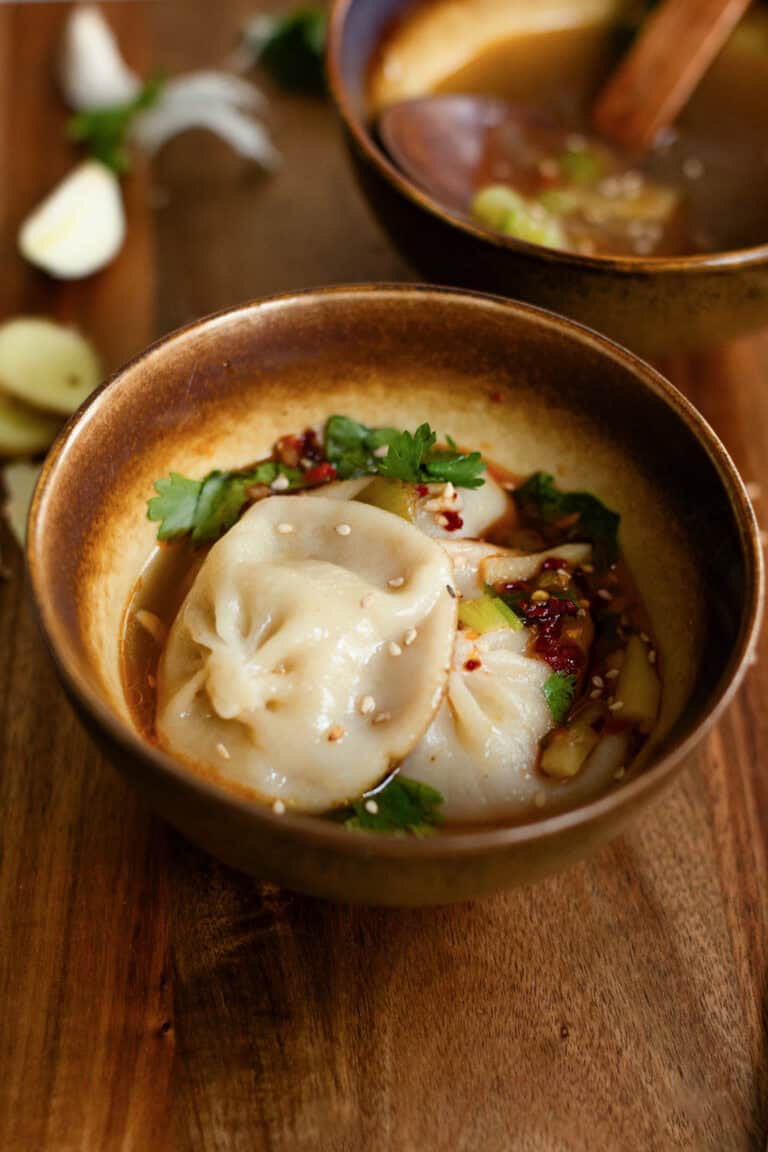
Easy Dumpling Soup (Trader Joe's)
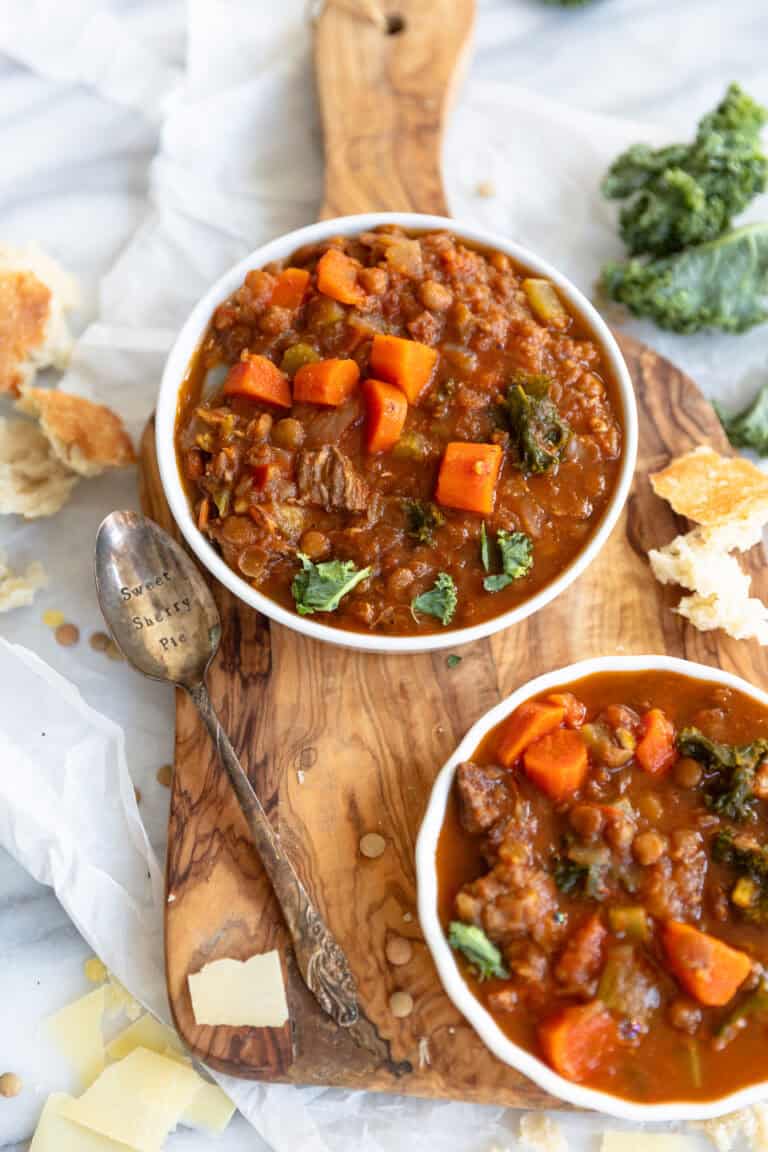
Hearty Beef Lentil Soup
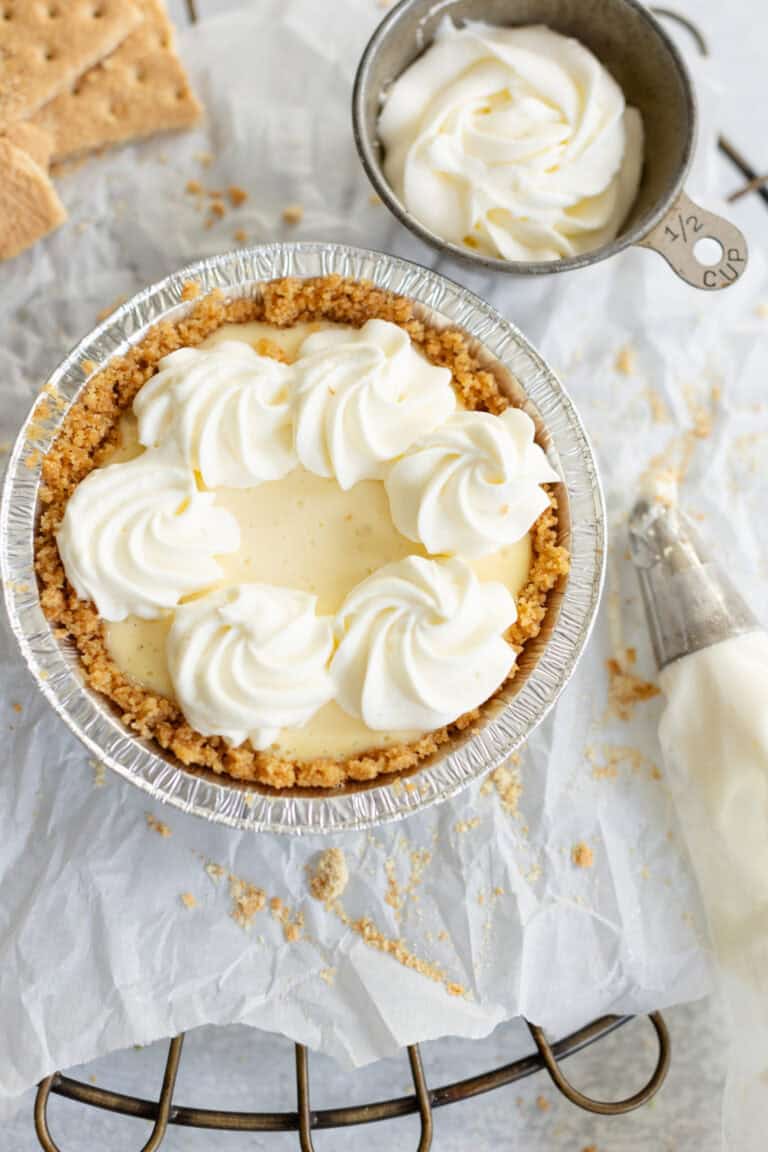
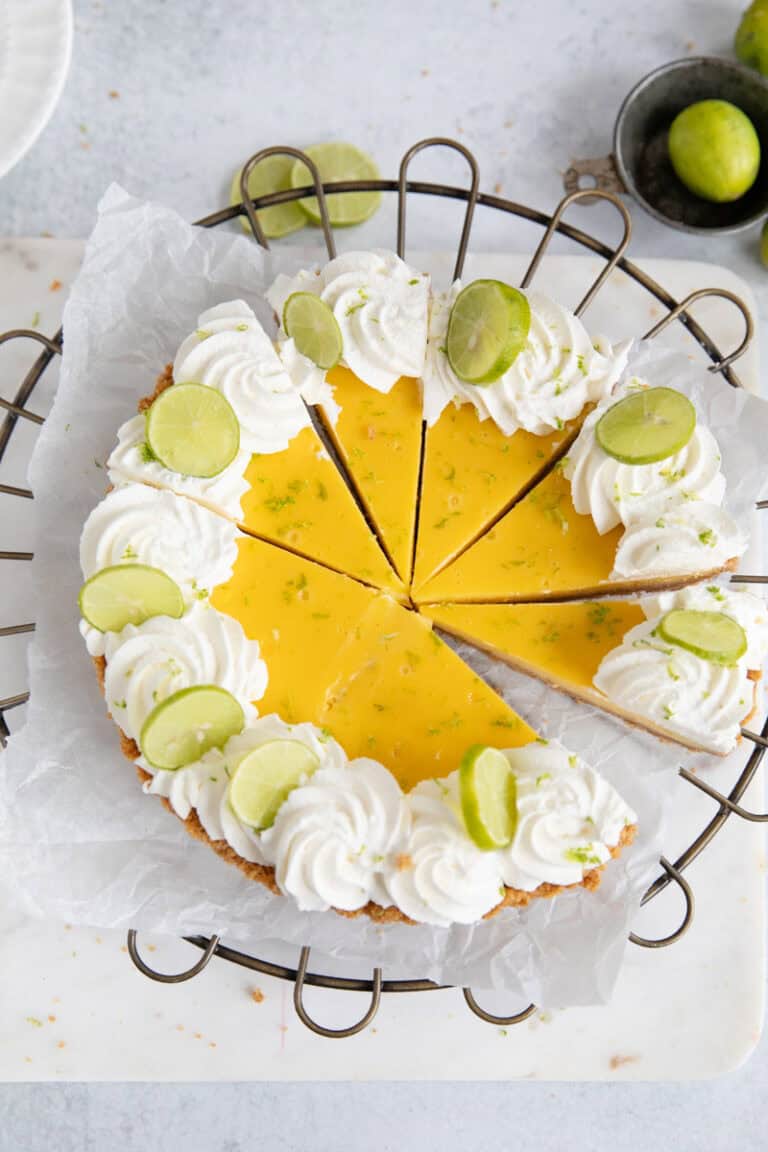
Key lime Pie
Shortcut Cherry Hand Pies
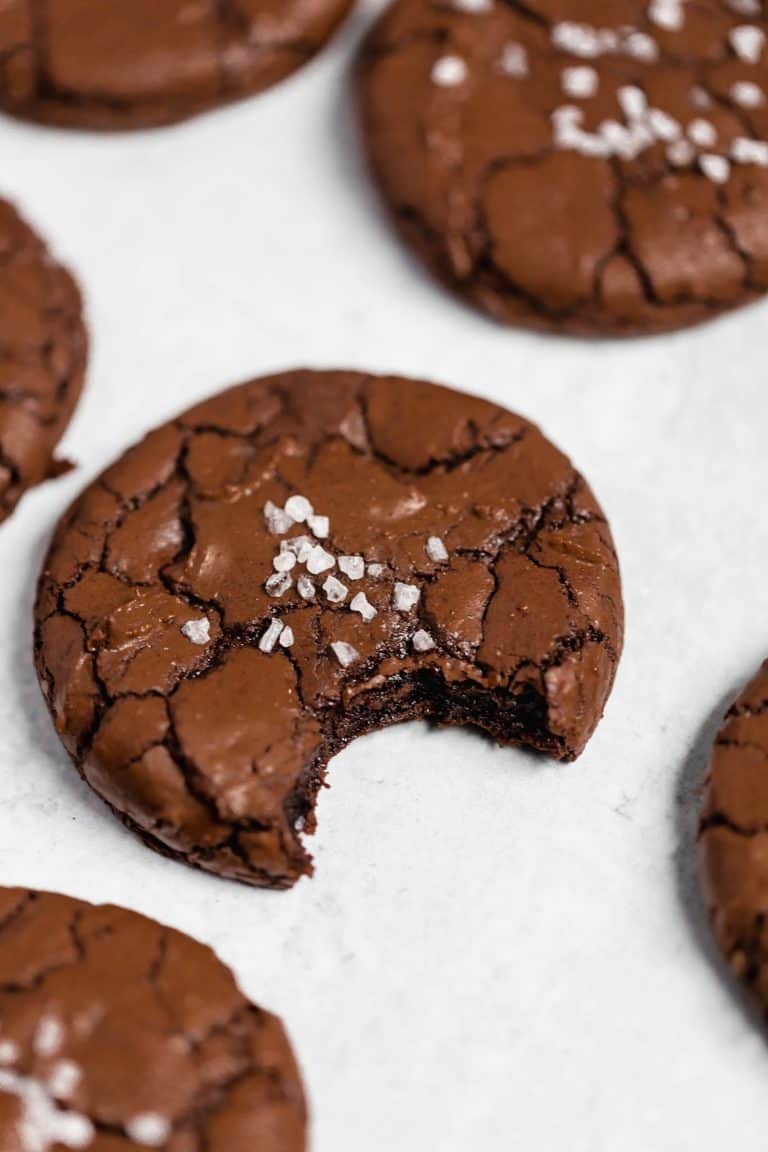
Brownie Cookies
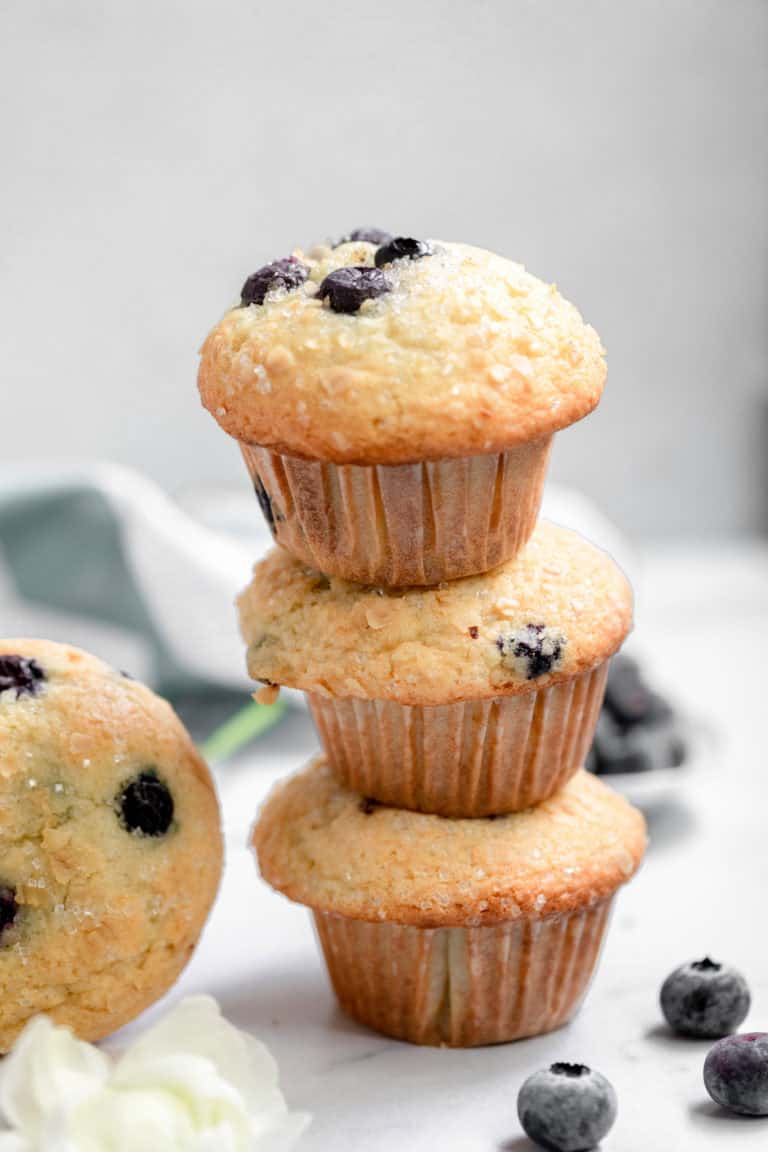
Blueberry Muffins
Red Velvet Cake Balls
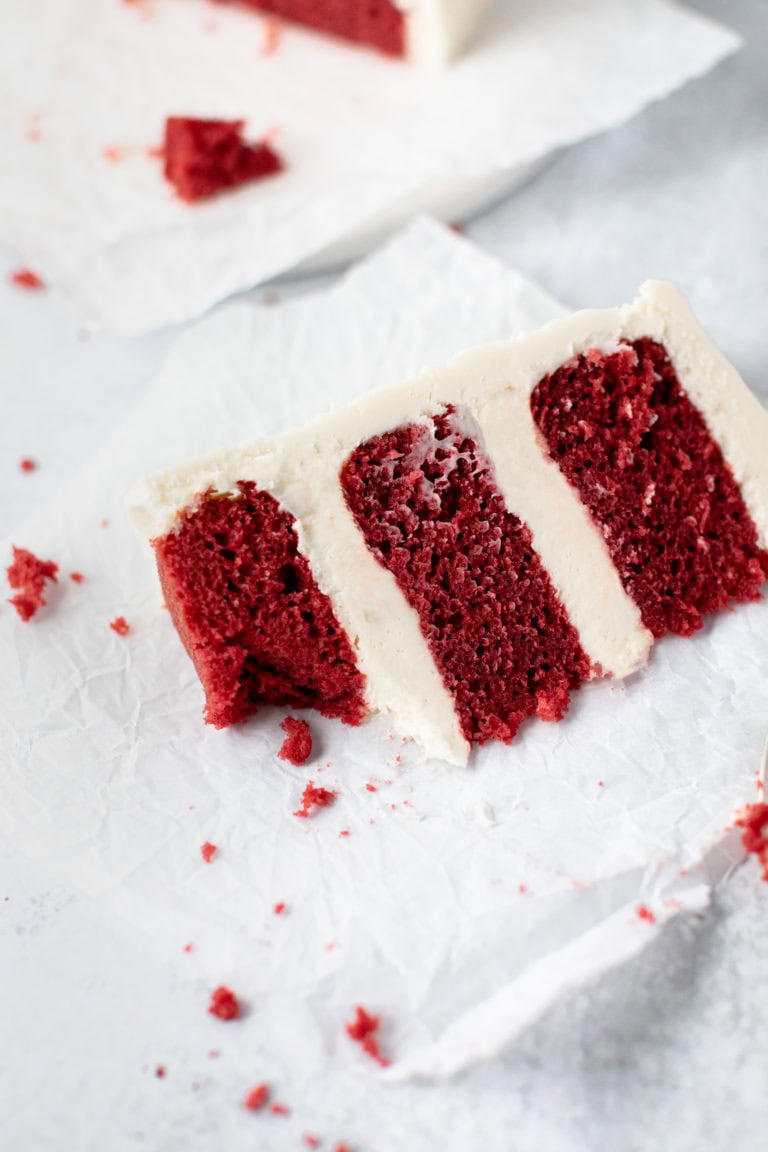
Red Velvet Cake with Cream Cheese Frosting
Sweet Sherry Pie-orities
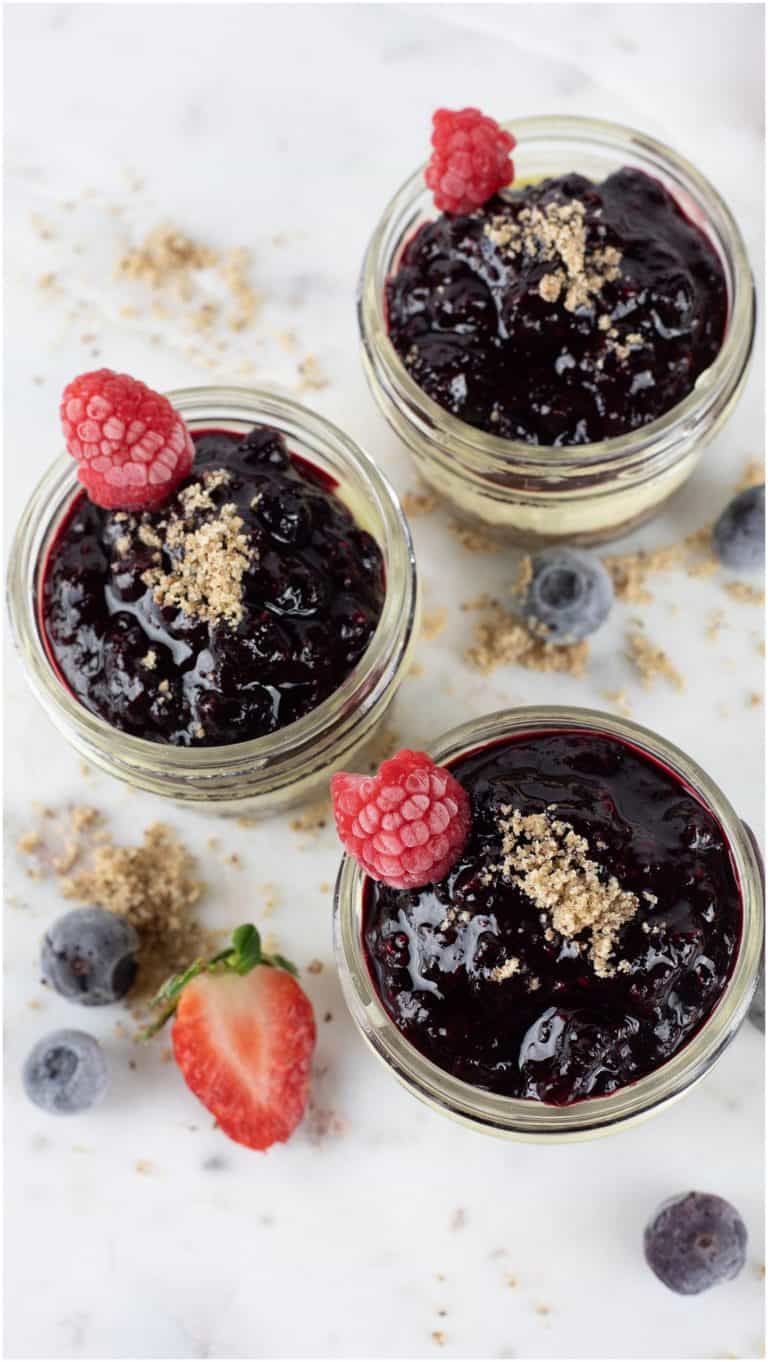
Cheesecake Jars
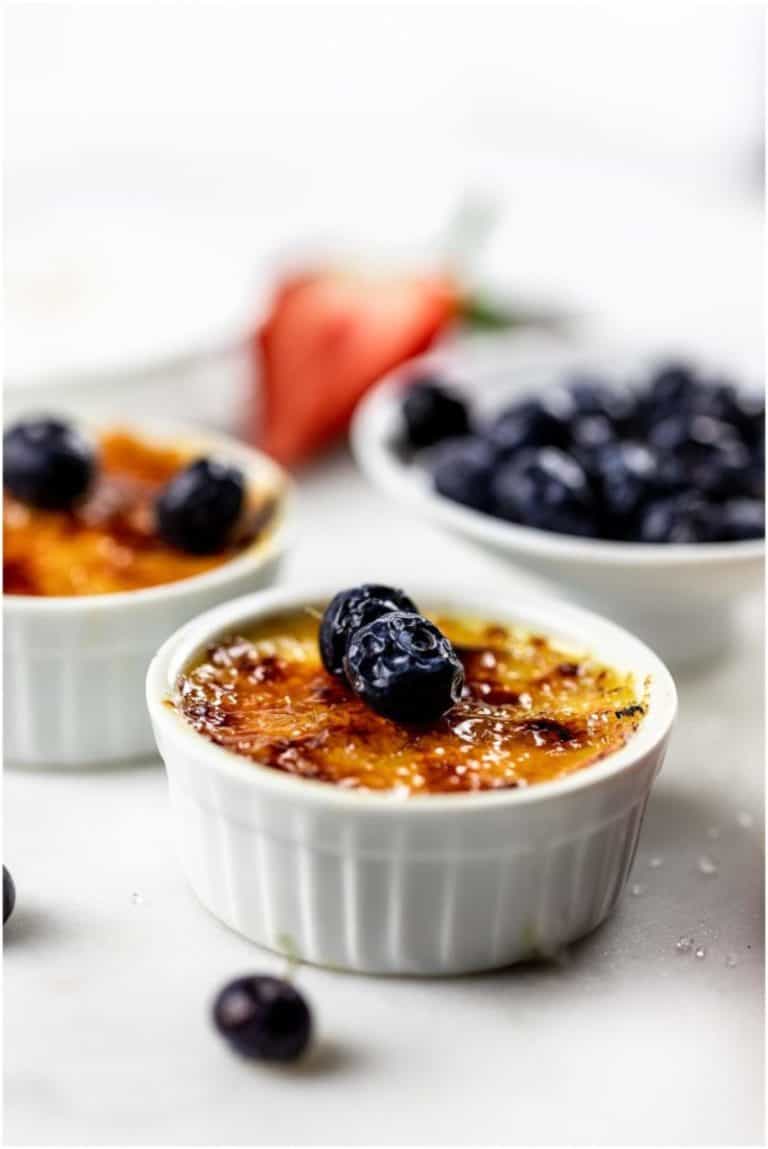
Creme Brulee (Instant Pot)
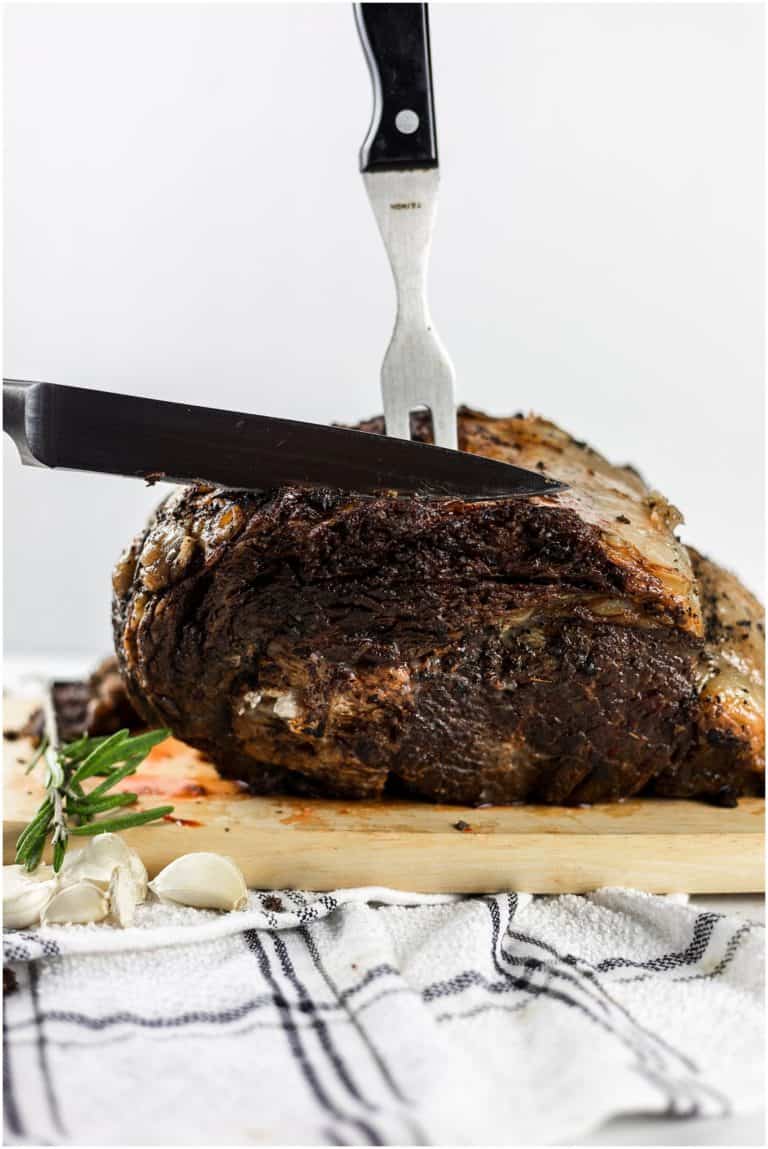
Prime Rib
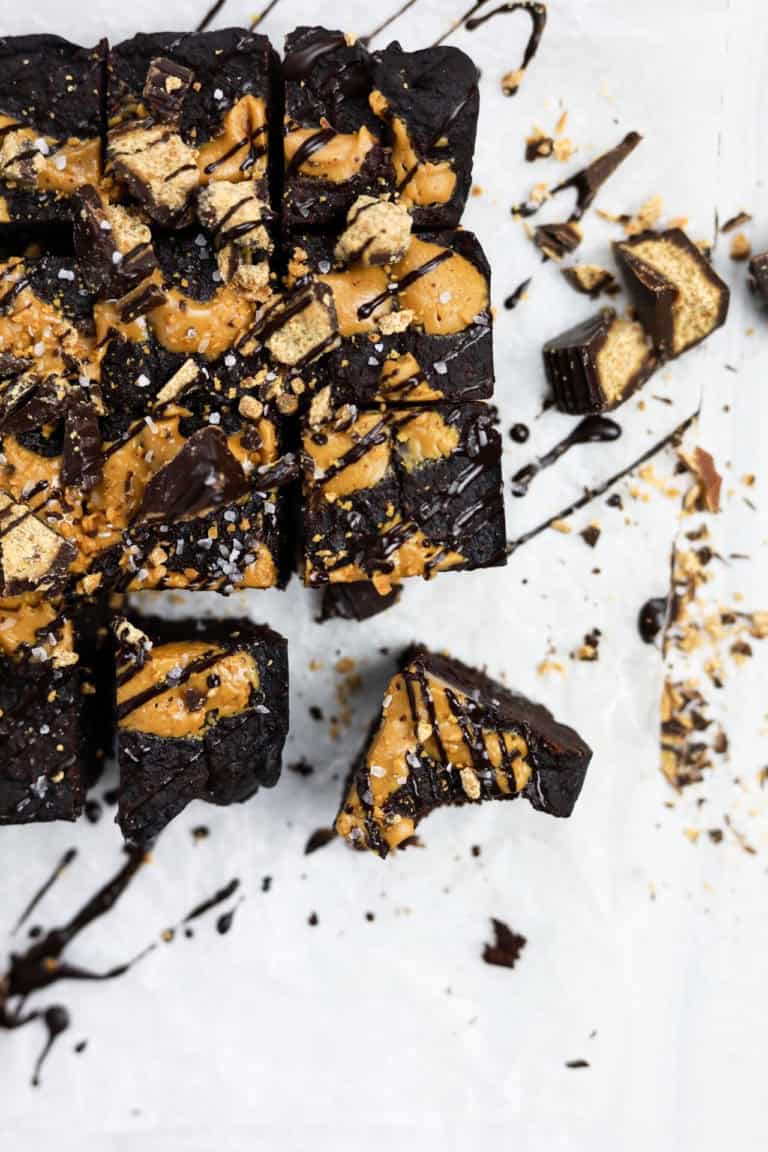
Chocolate Peanut butter Brownies
Recipe Index
About
Contact
Facebook
Instagram
Toggle Menu Close
Search for:
Search